
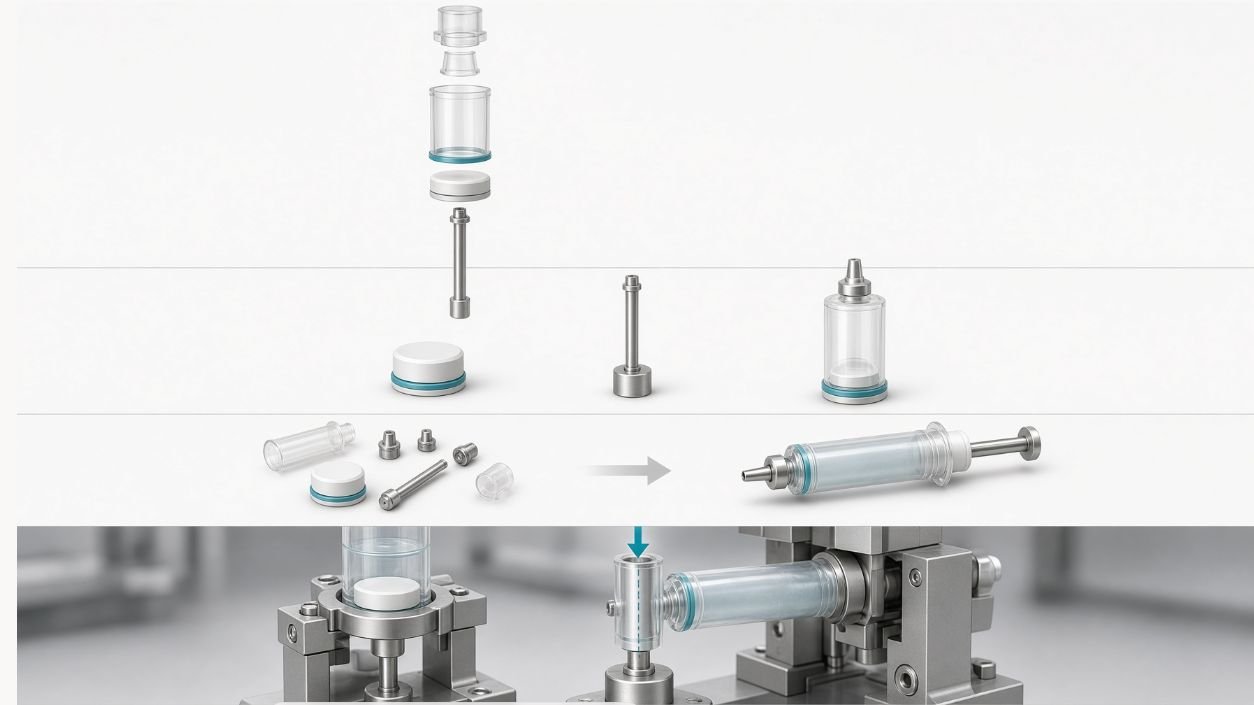
A gel bait syringe package is often described as "the syringe" or "the cartridge" without distinguishing what is actually inside it or how it leaves the line. This is one of the most common sources of confusion in the early stages of an automation project: a buyer sends a drawing labelled "syringe," the supplier quotes against a piston-insertion station, and the finished product on the shelf turns out to be a gun-compatible cartridge that does not need a plunger rod on the line at all. The article that follows is a working vocabulary and a decision framework for the three parts most often conflated — piston, plunger rod and gun-compatible cartridge — and for the assembly states the line has to deliver.
Piston, Plunger Rod and Cartridge Are Three Different Things
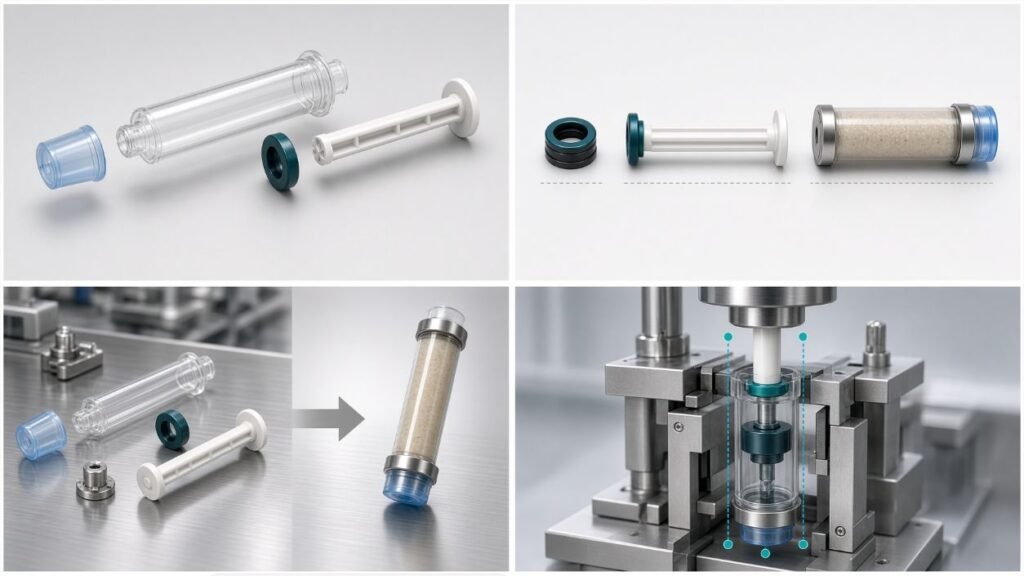
The first step is to use precise terms for the three components and to confirm what each package actually contains.
- Piston (or sealing plug / stopper). The elastomer or plastic plug that sits inside the barrel and seals the product at the back end of the fill. Every gel bait syringe has a piston. The piston is the seal that prevents the gel from leaking past the rear of the barrel.
- Plunger rod (or push rod / thumb plunger). The rigid rod that the user (or a bait gun) pushes to expel the gel. A plunger rod is what makes the package look like a "syringe." A package that ships without a plunger rod is not a syringe in the user-facing sense, even if the barrel and the piston are otherwise identical.
- Gun-compatible cartridge. A barrel-and-piston assembly designed to fit a third-party bait gun, with or without a plunger rod. Some cartridge designs rely on the gun's own rod; some include a one-piece plunger; some ship as a sealed cartridge that snaps into the gun. The interface to the gun is the deciding feature, not the terminology on the drawing.
A practical way to start a conversation with the package supplier is to ask, for each format in scope: does the barrel arrive empty, with a piston already inserted, or fully assembled with the plunger rod in place? And: does the end user push a rod, or does a bait gun drive the piston? The answers decide what the line must do.
Manual Application vs Gun-Compatible Interfaces
The user's interface with the package is the second axis. The same piston can sit behind two very different end-use experiences.
| User interface | Typical delivery state | What the line must do | Notes |
| Manual push (a "syringe" the user squeezes) | Barrel empty → fill → piston → plunger rod → tip cap | Full assembly on the line, including rod insertion | Rod orientation and retention feature matter |
| Bait-gun compatible with integrated rod | Barrel with piston pre-inserted → fill → closure | Fill plus closure; rod is part of the piston/closure subassembly | Drawing should show the rod as part of the piston assembly |
| Bait-gun compatible without rod (gun drives the piston) | Barrel with piston pre-inserted → fill → closure | Fill plus closure only; the gun provides the drive | Confirms the package is a cartridge, not a syringe, at the line interface |
| Pre-assembled sealed cartridge | Fully assembled cartridge (piston, rod, cap) → fill through a port | Fill only, into a sealed subassembly | Rare in gel bait; seen in some applicator designs |
The right column matters more than the label on the packaging. A package that arrives at the line as a "syringe" but is filled and shipped without a plunger rod is, at the line interface, a cartridge. The line's assembly scope must follow the package, not the marketing name.
A buyer who uses the word "cartridge" loosely in the enquiry will often receive a quotation against a piston-insertion station that the actual product does not need. The cost is not only the station price; it is the change in cycle rate, the additional change parts and the extra inspection points that follow.
Incoming State vs Outgoing State of the Assembly
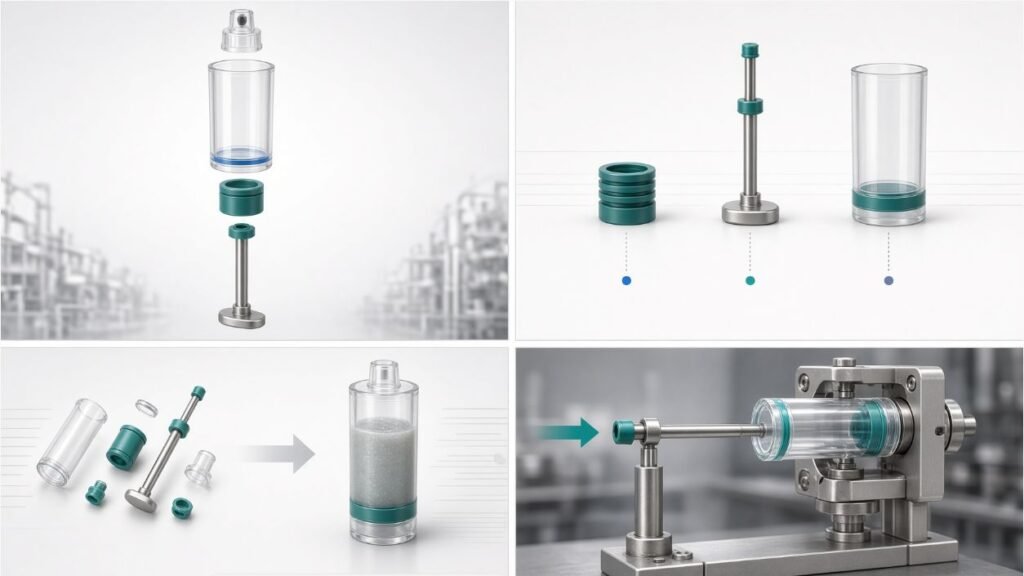
Every line has to handle two states: what comes in and what goes out. The two states together define the assembly scope.
The incoming state is set by the package supplier and by the buyer's incoming-control practice. A barrel may arrive loose in a bag, in a tray, in a nested stack or pre-oriented in a magazine. A piston may arrive loose, in a bag, in a tray, pre-inserted into the barrel, or pre-inserted and oriented in a tray. A plunger rod may arrive loose, nested, or pre-assembled to the piston.
The outgoing state is set by the finished product specification. Does the finished unit have a plunger rod in place? Is the rod oriented in a particular direction? Is the closure torqued to a defined value, or just seated? Is the closure oriented (e.g., a mark or a logo on top) or random?
A few combinations that often appear in gel bait projects:
- In: loose barrel + loose piston + loose plunger rod + loose tip cap. Out: filled barrel with piston, rod and cap in place. The line performs full assembly.
- In: barrel with piston pre-inserted, supplied in nested trays. Out: filled barrel with rod and cap added. The line performs piston-insertion skip, rod-insertion and capping.
- In: fully assembled cartridge (piston, rod, cap), supplied nested. Out: filled cartridge, with the closure re-seated after the fill. The line performs fill and re-cap only.
- In: sealed cartridge filled off-line, with a fill port. Out: filled sealed cartridge, no further assembly. The line performs fill only.
The third and fourth cases are sometimes discussed as if they were the same; they are not. A sealed-cartridge fill changes the closure design, the cap removal step and the cap re-application step. A pre-assembled cartridge with a removable cap keeps the same closure but shifts the cap-handling sub-station.
Insertion Alignment and Mechanical Support on the Line
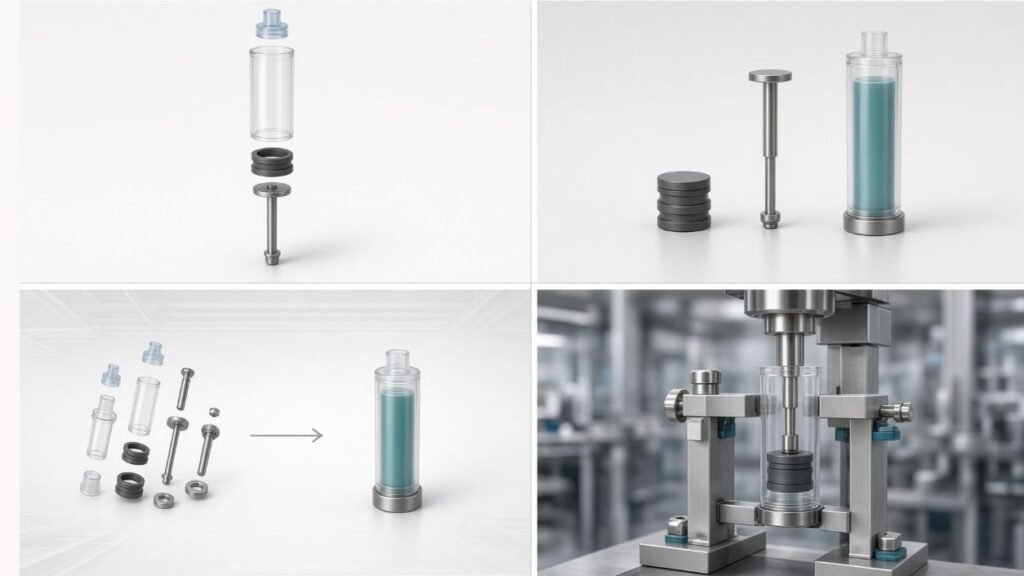
The piston-insertion station is often the first place where a buyer who has only watched a video of a syringe line discovers that piston insertion is not a single operation. It is a stack of small problems that have to be solved at the line.
The first is alignment. The piston must enter the barrel square to the bore, at the correct height, without scuffing the barrel wall or rolling the elastomer lip. A piston inserted off-axis is rarely rejected at the insertion station itself; it usually shows up later as a leakage failure or as a variable fill weight. Alignment is set by the barrel nest, the piston-feed track and the insertion tooling, and it is verified by feeler gauge or by a vision check on the assembled piston.
The second is support. The barrel must be supported from outside during insertion, not just held at the flange. A barrel held only at the flange flexes as the piston enters, and the piston travels further than the stroke length, with poor sealing and inconsistent insertion depth. The right support is usually a contoured nest that matches the barrel geometry across most of its length.
The third is insertion depth and force. The piston must end up at the correct depth for the designed fill volume, and the insertion force must be within the limits of the drive. Both limits are defined by the package supplier's drawing and confirmed during the sample trial. A line that runs without these limits tends to either under-seat pistons (leakage) or over-drive them (barrel damage).
The fourth is rod orientation and retention. Where the line adds the plunger rod, the rod must be oriented in a defined direction (often with a feature engaged into the piston) and must be retained against shipping and use. A loose rod is a customer-experience defect even when it does not fail the leak test.
Assembly Inspection Points and Defect Definitions
The finished assembly has to be inspected at three points: at piston insertion, at closure seating and at the end of the line. The defect list is not generic; it is defined by the package and the product.
At piston insertion, the typical defects are:
- Piston not seated to the designed depth (visual or laser)
- Piston rolled or scuffed (visual)
- Piston missing (vision or weight check)
- Piston in the wrong orientation where the design requires a feature (vision)
At closure seating, the typical defects are:
- Closure not seated (visual or torque check)
- Closure cross-threaded (visual, where threads are used)
- Closure missing (vision or weight check)
- Closure mis-oriented where the design requires orientation (vision)
At the end of the line, the typical defects are:
- Plunger rod missing or not engaged (where the design has a rod)
- Fill weight outside the agreed window (checkweighing)
- Visible gel residue at the closure or the piston interface (visual)
- Leakage under a defined test condition (pressure or vacuum test, or short-term inversion)
The defect list feeds the FAT protocol (see A05), the inspection-station scope and the agreed acceptance criteria. A line that ships without an agreed defect list tends to argue about acceptance at the FAT.
Common Risks and Mistakes
- Conflating piston, plunger rod and cartridge. The first conversation that uses the wrong word for the wrong part tends to keep the wrong word for the whole project. Set the vocabulary at the start.
- Letting the package supplier define the line scope. The supplier knows the package. The buyer knows what the finished product should do. The line scope sits between them; both sides need to confirm the assembly state.
- Treating the piston-insertion station as a single sub-system. It is alignment, support, depth/force and rod engagement; each is a separate decision.
- Skipping the inspection list until FAT. The defect list is the input to the inspection station; it should be agreed before the line is built, not at acceptance.
- Assuming the gun-compatible package needs a rod on the line. Many cartridge designs do not. Confirm before adding a rod-insertion station.
How King Pack Supports This Application
King Pack Machinery (Wuxi King-Pack / Wuxi Jingpai Machinery Co., Ltd., founded 2009, with a core technical team carrying more than 20 years of industry experience) supports piston, plunger and cartridge decisions as part of the package discussion that precedes the line configuration. The relevant support is:
- Package-review before quotation. King Pack reviews the buyer's drawings, sample components and incoming/outgoing assembly states, and confirms with the buyer which stations the line must include.
- Assembly-state matched configuration. The piston-insertion station, the rod-insertion station and the closure station are configured against the actual assembly state, not against a generic "syringe" reference.
- Insertion tooling and nests built from drawings. Insertion nests and support tooling are matched to the barrel geometry provided by the buyer; insertion depth and force limits are confirmed during the sample trial.
- Inspection scope agreed in writing. Defect definitions and inspection points are agreed before FAT, so that acceptance is a comparison against an agreed list rather than a discussion at the test.
King Pack does not claim a universal piston-insertion station that fits every gel bait package. The right station is the one matched to the buyer's barrel, piston and rod combination.
Conclusion
Pistons, plungers and gun-compatible cartridges are three different parts with three different decisions on the line. The work is to set the vocabulary first, then map the incoming and outgoing assembly states, then size the piston-insertion station against alignment, support, depth and rod engagement, and finally write the inspection list before the line is built. When those are in place, the assembly scope is clear. When they are not, the line tends to either over-assemble (adding stations that the package does not need) or under-assemble (missing a step the finished product requires).
Ready to confirm your assembly scope? Send your barrel, piston, plunger rod and tip-cap drawings, two samples of each component in the incoming state, and the desired finished state. King Pack will confirm which stations the line must include and which can be skipped.
Last reviewed: September 14, 2026.