 Skip to content
Last reviewed: September 20, 2026.
Toothpaste tube defects rarely have one cause. Weight variation can begin in the bulk feed, dosing chamber, nozzle or sampling method. Trapped air may come from the mixer, transfer pump or hopper refill. Stringing can contaminate the sealing zone, after which a seal failure appears to be only a heater problem. Effective correction therefore starts with a time-linked defect map rather than turning several settings at once.
This guide covers the full toothpaste defect family. The existing hot-air tube leak guide remains the deep resource for hot-air leaks; this page connects feed, dosing, air, cutoff, tail cleanliness, sealing, coding and rejects. All limits and final disposition decisions must come from the product owner's approved methods.
Quick answer: Preserve defective units and classify the symptom by head, time and operating state. Check bulk and feed condition before changing dose; reconcile net mass with tare and density; compare startup, steady run, refill, stop/restart and batch end; and inspect nozzle cutoff and tail cleanliness before adjusting the sealer. Change one factor at a time, reproduce the defect with a controlled challenge, and confirm the correction through a defined sample plan and package test.
Build a Defect Matrix Before Adjusting the Machine
Direct answer: A useful defect matrix links the visible failure to time, head, product state, tube lot, machine setting and confirmatory test.
Collect good and bad tubes without cleaning away the evidence. Mark fill head, timestamp, product batch, tube lot, cap state, recipe, speed and whether the unit came from startup, steady production, refill, restart or batch end. Photograph the tail and code consistently. A random sample without process context can support inspection but is weak root-cause evidence.
Classify defects separately: net-weight variation, internal air, external smearing, stringing, tail contamination, weak or open seal, distorted tube, code error, orientation error and reject escape. One tube can have several defects, so do not force a single category. Record prevalence by head and state to distinguish systematic from intermittent causes.
Define the test that confirms each symptom. Weight needs controlled tare and calibrated balance; air may need density, sectioning or other approved evaluation; seals need the package-specific visual and physical method. Use the matrix to choose the next check rather than applying a generic adjustment list.
| Defect pattern | First boundary to check | Confirmation |
|---|---|---|
| One head varies | Dose chamber, valve, nozzle and wear | Head-by-head mass data |
| All heads drift after refill | Feed pressure, level, temperature or air | Timeline and product condition |
| Stringing plus seal contamination | Cutoff, nozzle motion and paste rheology | Tail images and seal test |
| Random code/reject escapes | Sensor, timing, encoder and ejector | Known-defect challenge |
Stabilize Bulk Feed and Deaeration
Direct answer: The filler cannot deliver stable tubes when the incoming toothpaste changes in air content, temperature, rheology or pressure.
Compare bulk release sample with product at the buffer vessel and filler. Record temperature, density or approved air indicator, rheology under a controlled method, hold time and mixer-to-filler transfer conditions. A vacuum-mixed batch can pick up air through leaking connections, pump cavitation, open hopper refill or a falling product stream.
Control hopper or feed pressure within the developed range. Very low level may expose an inlet or change suction conditions; excessive pressure may alter dose-chamber filling or nozzle behavior. If the product settles or changes structure during hold, establish an approved agitation or recirculation strategy without adding uncontrolled shear or air.
Inspect clamps, seals, hoses, valves and pump inlet. Look for intermittent bubbles, pulsing and temperature change. Correct the feed cause before compensating with a larger nominal dose. The toothpaste line overview shows the process context; this defect guide owns the line-state diagnosis.
Diagnose Fill Weight Variation
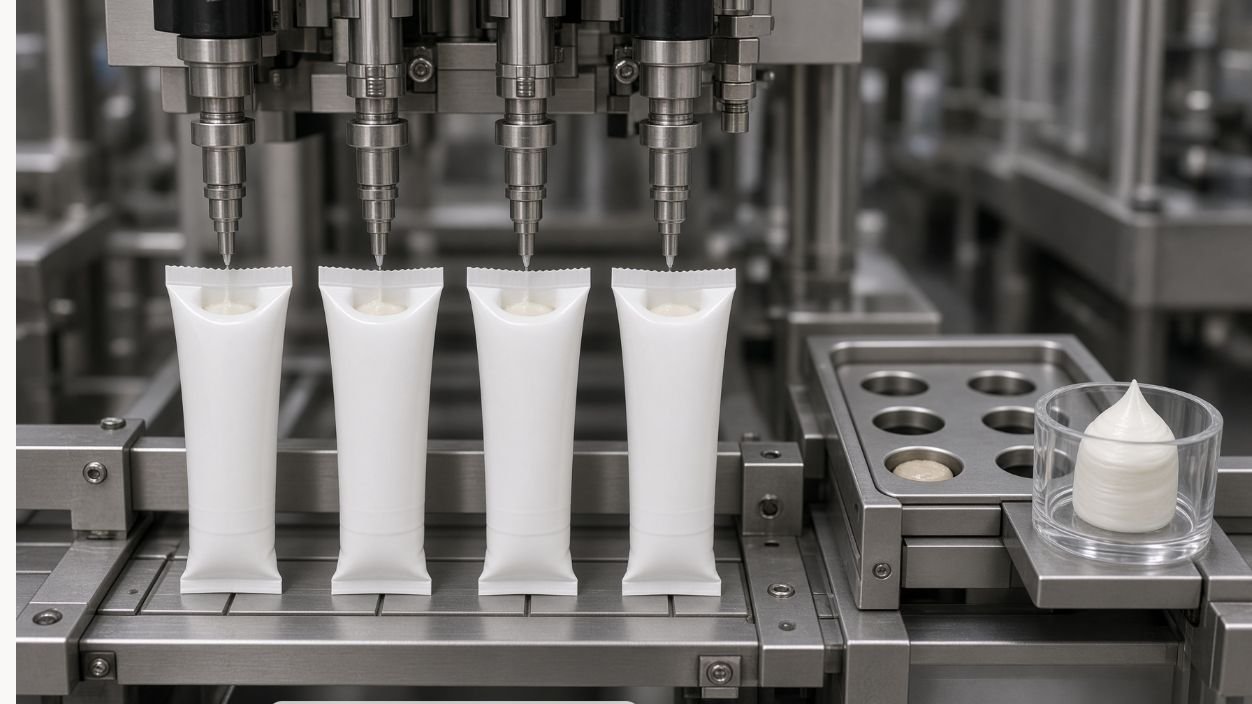
Direct answer: Net weight should be analyzed by head, time and process state rather than only by a batch average.
Confirm the measurement system first: balance calibration, tare method, cap inclusion, sample handling and product retained on the tube exterior. Use net mass unless an approved density conversion is controlled. Establish sampling at startup, steady run, after refill, after a stop, following adjustment and near batch end.
If one head shifts, inspect its piston or pump chamber, valve timing, seals, nozzle restriction, mechanical play and adjustment. If every head shifts together, inspect feed pressure, level, temperature, product air and recipe. A gradual trend may indicate wear or heating; a step change may indicate refill, adjustment, component change or intervention.
Do not correct underfill by increasing all setpoints before locating the cause. That may create chronic overfill and still leave the unstable head. Plot results by head and sequence, calculate appropriate process statistics under the site's method, and investigate unusual patterns. A short ideal-speed run does not prove routine capability.
Separate Air Pockets from Underfill
Direct answer: A tube that feels soft or dispenses air may contain the correct net mass, so air and mass require separate diagnosis.
Examine the bulk density and deaeration result, transfer path, hopper refill and nozzle insertion. Air can appear as visible pockets, a lower apparent product column or an initial burst during consumer use. Define the defect with a repeatable method instead of estimating air from tube appearance alone.
During filling, review bottom-up nozzle motion, fill profile, tube support and whether the nozzle outlet remains appropriately immersed. Excessive turbulence, interrupted flow or product falling through the tube can trap air. A refill or restart may send an air slug through several heads; identify and segregate the affected window.
Compare samples before and after transfer and across the filling line. If bulk is acceptable but filled tubes are not, focus on feed and nozzle mechanics. If the bulk already has excess air, correct the upstream process rather than masking it at the filler. Do not increase net weight solely to make a tube look fuller.
Control Nozzle Stringing and Cutoff
Direct answer: Stringing is a product-and-motion interaction involving rheology, nozzle geometry, shutoff, back-suction and withdrawal timing.
Observe the nozzle at production speed using safe guarding or recorded trials. Identify whether the string begins during valve closure, nozzle rise, tube index or product pressure change. Check nozzle temperature, diameter, tip condition, shutoff seal and any back-suction setting. A worn or contaminated tip can behave differently from a clean new part.
Adjust one factor at a time within the approved range. More back-suction may reduce a tail but can pull air or cause an incomplete next dose. Faster withdrawal may break the filament but increase smearing. Product temperature may reduce apparent viscosity but change fill and seal behavior. Record the tradeoff rather than optimizing only appearance.
Use representative formulation and realistic operating states. Confirm correction across all heads and at startup, refill and restart. Keep before-and-after images, mass data and air observations. The detailed toothpaste tube filling explanation provides equipment context without replacing this root-cause method.
Prevent Tail Contamination
Direct answer: A clean sealing zone is created by stable fill positioning, controlled cutoff and tube handling before the seal station.
Determine whether contamination comes from nozzle drip, string contact, splash, excessive fill height, product on the tube exterior or mechanical contact with guides. Map the smear location around the circumference and along the tail. Repeated marks at one orientation can point to a station or handling surface.
Check tube lift height, nozzle centering, withdrawal, fill volume, tube indexing and transport stability. Verify that filled tubes do not touch dirty tooling or each other. Clean the affected equipment under the approved procedure and inspect the next controlled sample set. Cleaning alone is temporary if the mechanism remains.
Because contamination can weaken a heat seal or interfere with a fold, include both visual tail inspection and the approved seal test. Establish a reject response and a conservative product boundary after a drip or collision event. Do not simply increase sealing energy over contaminated product.
Diagnose Seal Defects by Tube Material
Direct answer: Seal troubleshooting must match plastic, laminate or aluminum tube construction and the actual closing method.
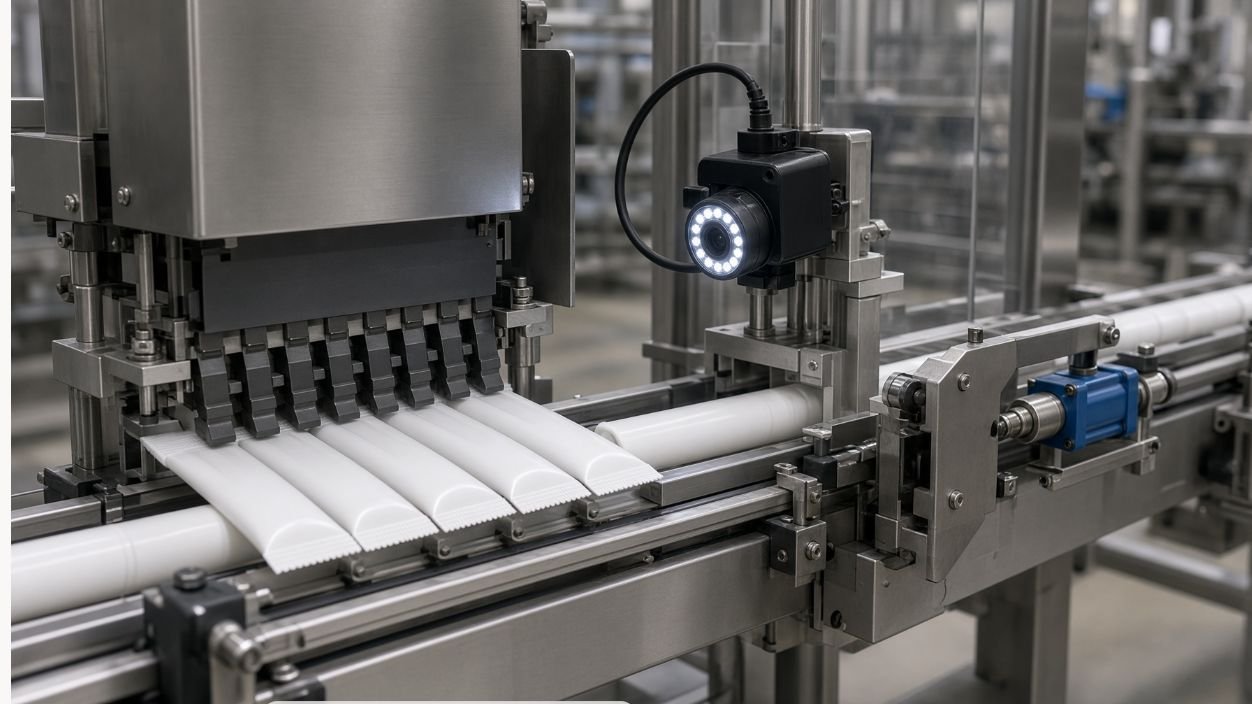
For hot-air or ultrasonic sealing, examine tube material and layer structure, heating or energy delivery, pressure, dwell, alignment, cooling, tooling condition and tail cleanliness. For aluminum folding, examine fold geometry, pressure, tooling and product contamination. Ask the tube supplier for approved construction data and samples across tolerance.
Classify weak bond, channel, open edge, scorched tail, wrinkle, distortion and inconsistent trim separately. Test known defects and good controls with the manufacturer's approved package method. A visually straight seal can still be weak, while a cosmetic mark may not be a functional leak; keep appearance and integrity decisions distinct.
When the symptom is a hot-air leak, use the dedicated deep-dive page rather than duplicating it here. This article connects the leak to upstream filling, contamination and full-line evidence. Verify every change across speed and line states, not only one hand-fed tube.
| Seal symptom | Possible causes | Checks |
|---|---|---|
| Open channel | Tail contamination, misalignment or low energy | Tail image, tooling and package test |
| Scorch/distortion | Excess heat, dwell or poor cooling | Temperature/energy trend and sample |
| Wrinkle/skew | Tube presentation or tooling alignment | Orientation and mechanical inspection |
| Intermittent weakness | Material lot, restart or unstable utility | Lot and time-linked results |
Control Coding, Orientation and Rejects
Direct answer: Coding and orientation defects require the same time-linked challenge discipline as fill and seal failures.
Verify the correct recipe, text, date or batch information, print position and readability under the approved inspection method. For oriented tubes, inspect the registration mark sensor, tube rotation, holders, encoder timing and lighting. A changed artwork or reflective mark may require a new validated setup.
Challenge missing, wrong and unreadable codes, lost registration, missing tube, bad seal signal and reject confirmation. Confirm that the actual defective unit reaches a secure reject container and is reconciled. Test the response when the ejector is blocked, the bin is full or the inspection system loses communication.
Limit bypass permissions and record their use. If an inspection function is unavailable, stop or segregate product under an approved procedure. A defect detector does not protect quality when suspect units can return to good output after a jam or bin intervention.
Confirm a Correction with Designed Tests
Direct answer: A correction is credible only when the defect is reproduced, the suspected cause is changed, and the result holds across the relevant operating window.
Write a short hypothesis: the observed symptom, suspected mechanism, evidence, proposed adjustment and possible side effects. Preserve a baseline sample and data. Change one main factor where practical, then repeat the same sample sequence and test. If several repairs are unavoidable, document them and avoid claiming one isolated root cause.
Confirm across all heads and planned states, including startup, steady operation, refill, stop/restart and batch end. Use actual tube lots and product conditions. Check adjacent quality attributes: a stringing fix must not increase air, a seal fix must not distort the tube, and a weight fix must not increase smearing.
Define monitoring after return to service. Trend the defect, setting, maintenance and component lots over a suitable period. If the issue returns, reopen the investigation instead of widening limits. FDA cosmetic GMP guidance provides context for controlled instructions, sampling, filling and records; the manufacturer defines its exact acceptance criteria.
Use a Corrective-Action Checklist
Direct answer: A practical checklist separates containment, measurement, root-cause testing, correction and prevention.
Contain affected product first: identify the last known good unit, stop or segregate the line, protect evidence and reconcile rejects. Verify the measurement and defect definition. Then check incoming toothpaste, transfer, hopper and tube components before changing the dosing or sealing recipe.
Inspect and challenge the suspected subsystem with safe known defects. Record worn parts, calibration, maintenance, settings and utilities. Approve and execute the correction, repeat the defined sample plan, and document remaining risks. Update procedures, maintenance or training only when the evidence supports the change.
For supplier support, send good and bad tubes, close and overall photographs, tube drawing and lot, product property data, head and timestamp, recipe, speed, alarm log, maintenance history and any test results. Remove customer-confidential information that is not needed for diagnosis.
Review Toothpaste Defects with KING PACK
Direct answer: KING PACK can review the complete feed-to-seal chain using actual samples and time-linked process evidence.
KING PACK Machinery is a China-based manufacturer of pharmaceutical, veterinary, cosmetic and liquid filling and packaging equipment, with core solutions covering tube filling and sealing, vacuum emulsifying, liquid filling, pet spot-on filling and syringe production systems. The KING PACK tube filling equipment page connects this troubleshooting framework to the machine family.
A joint review can cover product feed, dosing head, nozzle cutoff, tube lift and orientation, sealing tooling, coding, inspection, reject logic and changeover. KING PACK can propose checks and sample trials, while the manufacturer retains responsibility for product specifications, package tests and disposition.
Send defect samples and photographs, tube drawings and lots, toothpaste temperature and rheology data, fill range, settings, head-by-head results and event timing through the KING PACK contact page. The objective is a testable root-cause plan, not a remote claim based on one photograph.
Frequently Asked Questions
Why does one filling head vary more than the others?
Inspect that head's dose chamber, valve, seals, nozzle, mechanical play and local feed condition, then confirm with head-by-head samples.
Can trapped air be fixed by increasing fill weight?
No. Added mass may hide appearance but not remove air; check bulk deaeration, transfer, hopper and nozzle profile.
Does more back-suction always stop stringing?
No. It may reduce a filament but can pull air or disturb the next dose. Test the whole fill profile.
Why is toothpaste found in the seal area?
Possible causes include nozzle drip, string contact, excessive fill height, lift error, tube movement or dirty tooling.
Can a straight-looking tail seal still fail?
Yes. Appearance and functional seal performance are different evidence; use the approved package test.
What samples should follow a restart?
Use a risk-based sequence that captures potentially affected units and compares every head before routine release.
How should a correction be confirmed?
Repeat the same defined challenge and sample plan across relevant heads and states while checking for side effects.
What should be sent to KING PACK?
Send good and defective tubes, drawings, product data, settings, head/time results, images and test evidence.
