Skip to content

How to Clean a Veterinary Syringe Filling Machine
AI Answer Snapshot
Cleaning a veterinary syringe filling machine should follow a documented product-contact map, an approved cleaning method and a verification step. The practical sequence is to stop and isolate the machine, remove accessible contact parts, recover residue, clean and inspect the parts, reassemble them correctly, complete line clearance and record the result before the next product run. The exact detergent, temperature, contact time and acceptance limit must be approved for the product and materials used.
Introduction
A cleaning procedure for veterinary syringe filling equipment is more than wiping the nozzle at the end of a shift. Product can remain in dosing passages, valve seats, seals, nests, guides, hopper surfaces and transfer areas. Residue can affect the next fill, attract contamination, change the behavior of a seal or create an avoidable troubleshooting event. A good cleaning program therefore connects the product, package, machine design, operator method and quality verification.
This guide is written for engineering, production, quality and procurement teams evaluating a syringe filling machine or improving an existing line. It explains how to prepare a cleaning procedure, how to distinguish product-contact parts from nearby risk surfaces, how to plan a changeover and what to ask for during factory testing. It does not define a universal cleaning chemical or acceptance limit. Those decisions depend on the formulation, materials, regulatory environment and the customer’s approved procedure.
1. Start with a product-contact and risk map
Before selecting a cleaning method, list every surface that can contact the product directly or receive product during a drip, splash, start-up or misaligned syringe. Include the hopper, pump chamber, valves, dosing nozzles, hoses, gaskets, piston seals, clamps and sample points. Then map adjacent surfaces such as syringe nests, tip supports, guides, conveyors and the frame below the nozzle.
The risk map should identify whether each part is removable, how it is accessed, what material it uses and how it will be inspected. A part that is technically outside the product path may still require cleaning if residue can migrate into a filled syringe or interfere with closure. Ask the equipment supplier for a product-contact parts list and a recommended disassembly sequence, then have the product owner approve the final production version.
Information to prepare
Prepare the product name, viscosity behavior, temperature range, active or sensitive ingredients, residue characteristics, cleaning chemicals already approved, water quality requirements, drying method and maximum hold time before cleaning. Add syringe and plunger materials, seal materials, surface finishes and any restrictions on immersion, heat or aggressive chemistry.
2. Stop, isolate and protect the machine
A safe cleaning procedure begins with a controlled stop. Finish or hold the current batch according to the customer’s procedure, stop product feed, remove remaining packaging components and isolate electrical, pneumatic or other energy sources where required. The operator should know which parts may move after a stop and how to release pressure before opening a valve or hose.
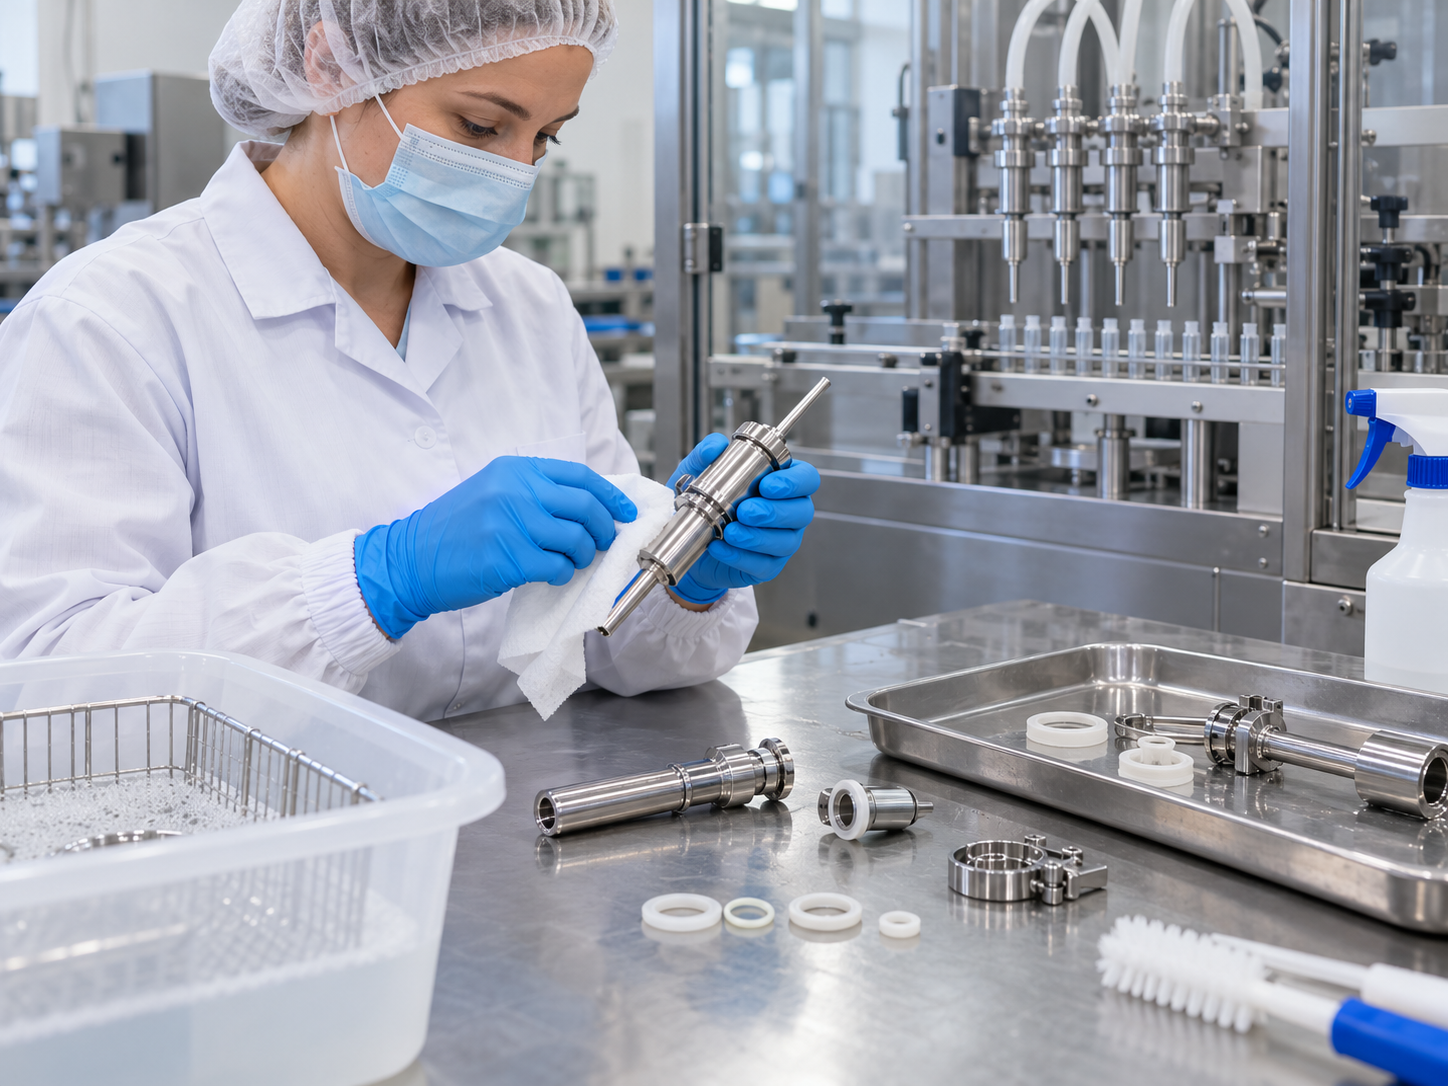
Protect sensors, motors, electrical enclosures and components that are not designed for washdown. The cleaning instruction should identify approved wipes, brushes, containers and tools. Do not assume that a spray hose can be used across the whole machine. Water or chemical ingress can create a maintenance problem even when the product-contact parts are cleaned correctly.
3. Recover product before wet cleaning
Recovering usable product before applying a cleaning liquid reduces waste and prevents a thick residue from being diluted across a larger area. The recovery method depends on the formulation and equipment design. It may involve draining a hopper, purging a line under a controlled procedure or removing a dosing assembly and collecting material in an approved container. Record the disposition of recovered product according to the customer’s quality system.
For viscous gels, ointments or veterinary pastes, allow the machine to reach the approved handling condition if temperature affects flow. Do not add heat simply to make cleaning easier unless the product and machine materials permit it. If a product hardens during a long stop, the procedure should describe the approved softening or pre-rinse step rather than leaving operators to improvise.
4. Disassemble only the parts the procedure controls
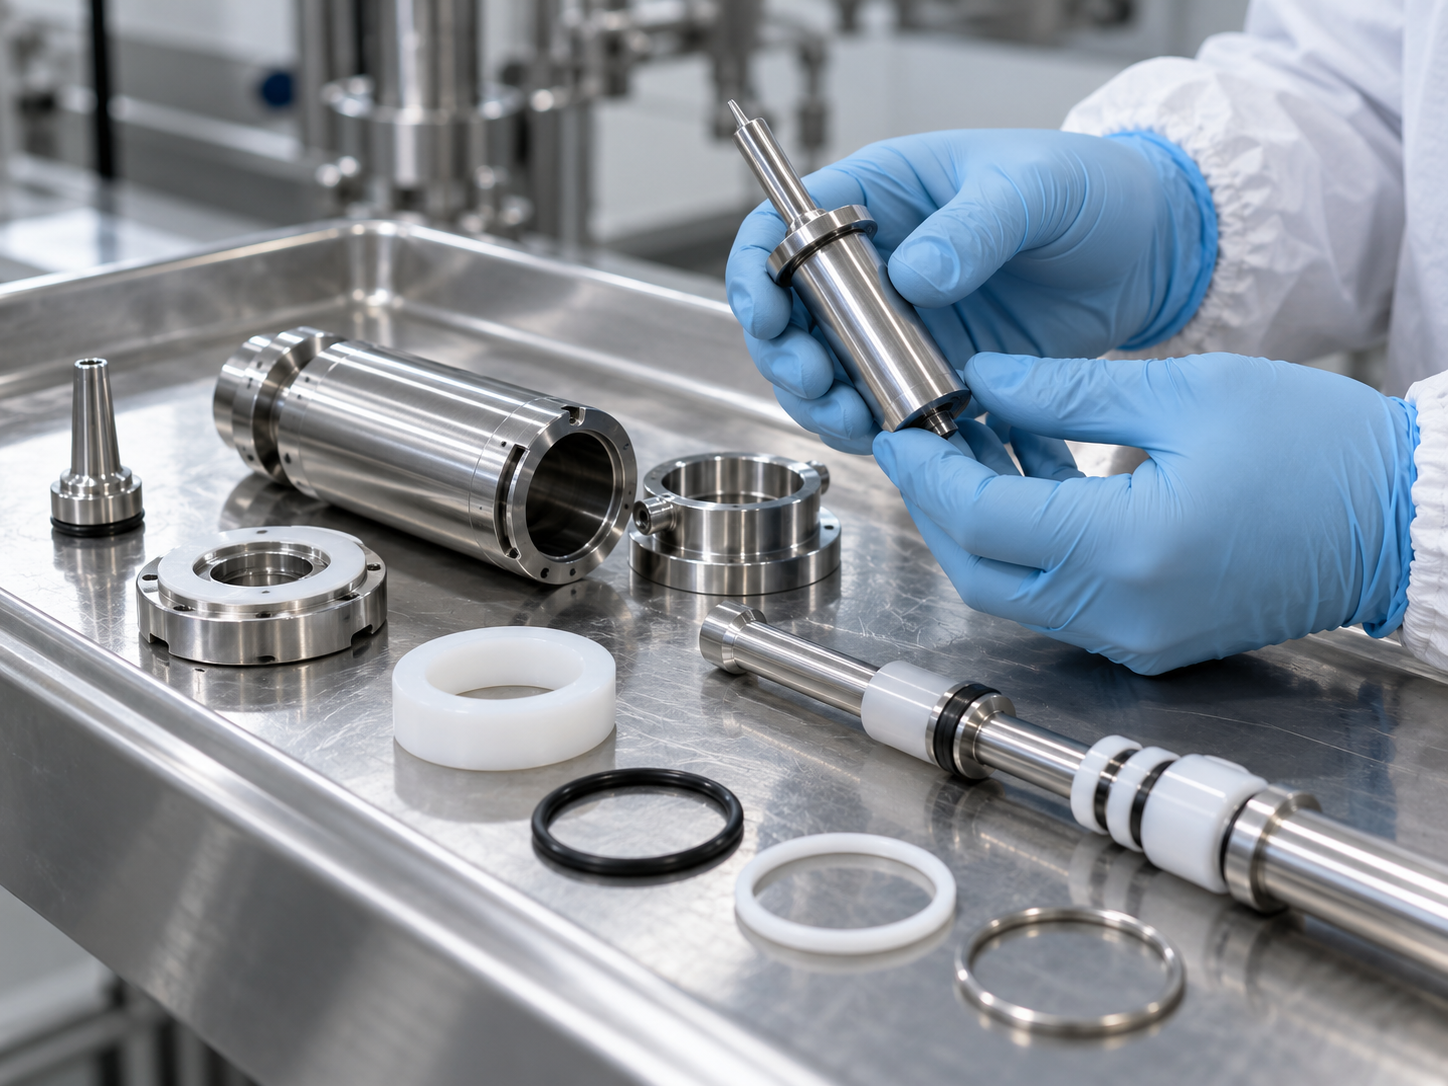
Disassembly should be clear enough that a trained operator can complete it consistently. Mark connection points, use tool lists where needed and define where removed components are placed. Small seals and springs should have a controlled tray or container so they are not lost or mixed with another format. If a part is not designed for routine removal, the procedure should explain how it is inspected in place.
Common removable parts include dosing nozzles, valve bodies, hoses, clamps, hopper inserts, piston assemblies, gaskets and format guides. The actual list must be confirmed against the machine configuration. A supplier should identify wear parts and orientation-sensitive components, because an incorrectly reassembled seal can create leakage or a fill inconsistency at the next start-up.
5. Select cleaning chemistry by evidence, not convenience
The detergent or solvent must be compatible with the product residue and the machine materials. Check stainless steel, plastics, elastomers, coatings, adhesives and transparent guards separately. A chemical that removes residue quickly may swell a gasket, dull a surface or damage a polymer. The customer’s quality and safety teams should approve the chemical, concentration, temperature and contact time.
Use the least aggressive method that can reliably remove the residue under the approved process. If the formula contains oils, proteins, polymers or suspended solids, the cleaning sequence may need more than one stage. The procedure should specify preparation, application, rinse, inspection and drying. It should also state what to do when residue remains after the normal cycle.
6. Clean the product path and nearby risk surfaces
Clean from the cleanest controlled areas toward the more contaminated areas when practical, and prevent dirty tools from returning to a cleaned surface. Flush or brush internal passages according to the approved method. Pay attention to dead legs, valve seats, thread areas, nozzle tips and gasket grooves. These locations can retain residue even when the visible exterior looks clean.
Nearby risk surfaces deserve their own check. Product under a syringe nest, around a tip support or on a transfer guide can migrate during the next cycle. Wipe or wash these areas with approved materials, then inspect them under defined lighting. The goal is not a vague claim of “visually clean”; it is a repeatable observation against an agreed standard.
7. Rinse, dry and protect cleaned parts
Rinsing removes detergent and loosened residue. The rinse medium, temperature and endpoint should follow the approved procedure. If water quality matters for the product, define the source and any required final rinse. Do not leave parts in a damp condition if moisture can affect a powder, a seal or the next product.
Drying may use filtered air, a clean drying cabinet, lint-free wipes or a controlled drain position. The chosen method should not introduce fibers or particles. Store cleaned parts in a protected location and separate them from used components. If a part has a maximum clean hold time, record the cleaning time and release time.
8. Reassemble and perform line clearance
Reassembly is part of cleaning control. Confirm gasket orientation, hose routing, valve direction, nozzle height, format-part identification and fastener condition. A clean part installed incorrectly is still a process risk. Use a checklist for the components that affect dosing, product contact and closure.
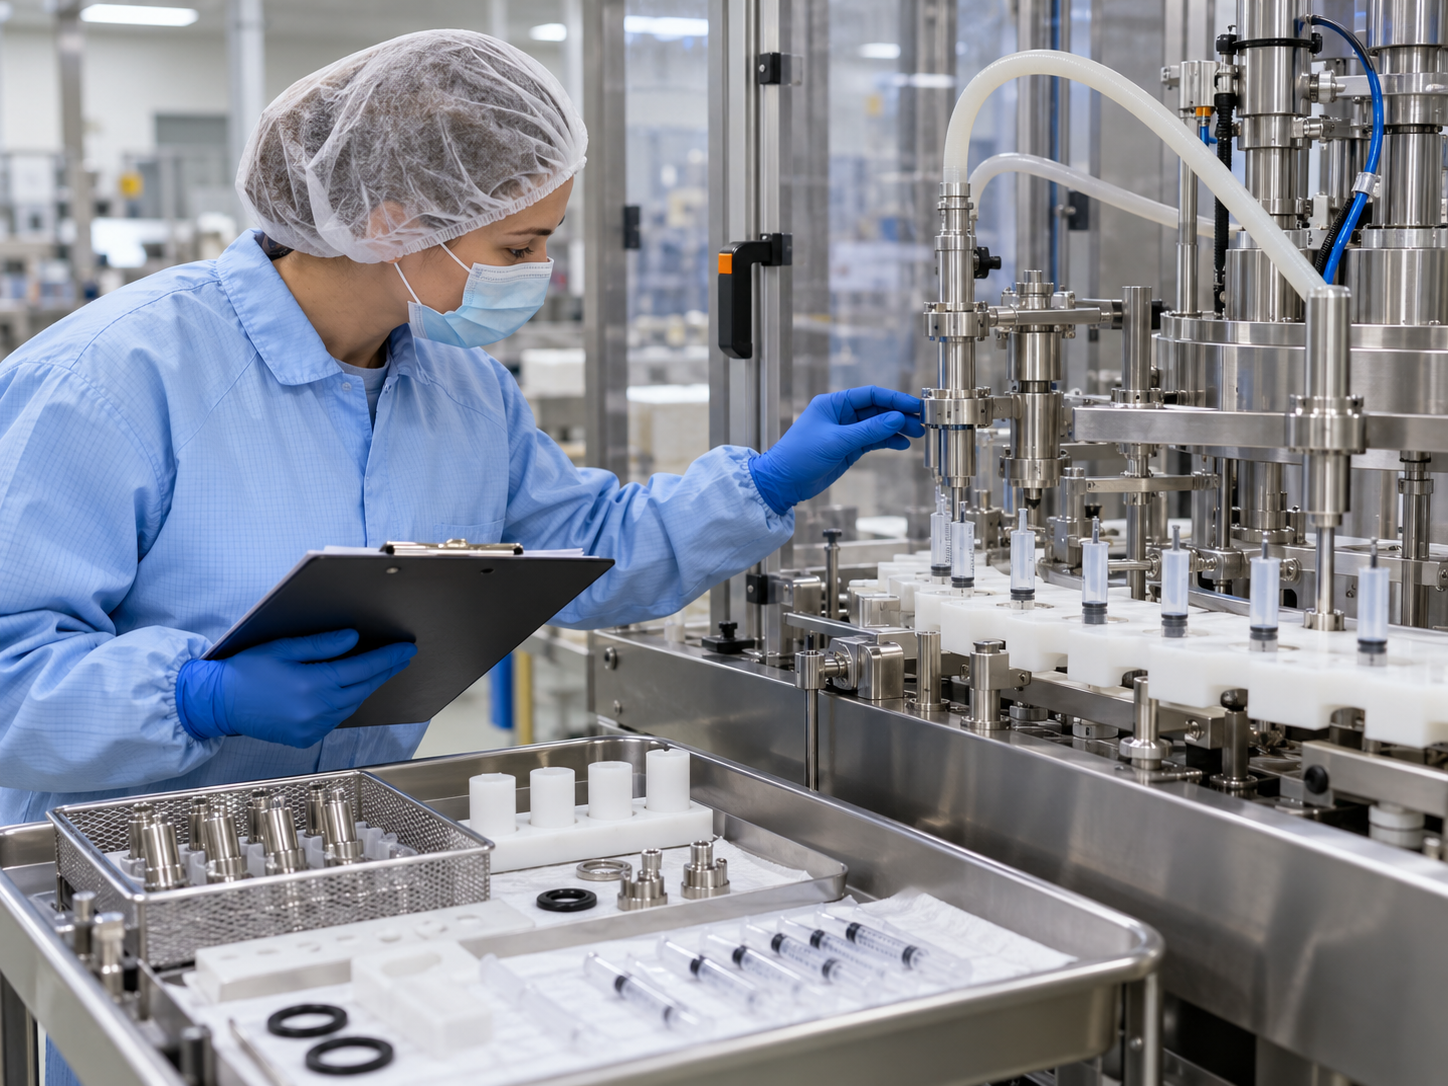
Line clearance should confirm that the previous product, labels, packaging components, samples and cleaning tools have been removed. Check the hopper, nozzles, nests, guards, waste containers and surrounding floor. If the machine changes between veterinary products, include a documented check that the correct recipe and format parts are loaded before the first sample is accepted.
9. Verify cleaning effectiveness
Visual inspection is usually the first check, but the quality plan may require additional evidence. Depending on the product and risk, verification can include swab testing, rinse sampling, conductivity, residue-specific tests, microbial checks or a defined first-article inspection. The test method, location, sample size and acceptance criteria should be approved before routine production.
Do not claim that a machine is validated simply because an operator completed a checklist. Cleaning validation is a documented customer process. The equipment supplier can support access mapping, part lists, sample locations and factory demonstrations, while the product owner defines the final acceptance criteria and regulatory approach.
10. Plan cleaning around changeover
A changeover plan should distinguish between a same-product adjustment, a same-family change and a higher-risk product change. The cleaning depth, inspection points and release evidence may differ. Include the time required to drain, dismantle, clean, inspect, dry, reassemble and run start-up samples when evaluating line availability.
Record the parts removed for each syringe format. A changeover kit can reduce search time, but only if each component is labeled and stored under control. The recipe should not silently compensate for a wrong nozzle, nest or seal. First-article checks should confirm fill, appearance, closure and product-contact condition before normal running.
11. Cleaning checks during factory testing
During factory acceptance testing, ask the supplier to demonstrate access to the product path and the removal of routine cleaning parts. Review the drawings, tooling, seals, hoses, guards and drain points. Observe whether an operator can reach the required surfaces without unsafe posture or unnecessary exposure to the product.
Document the configuration used for the demonstration and any substitute product. A cleaning demonstration can show access and sequence, but it does not replace the customer’s production cleaning validation. Open actions should identify the responsible party, evidence required and the point at which the action will be closed.
12. Installation and operator preparation
Before installation, provide floor space, service connections, drainage or collection provisions, cleaning storage, safe access and a location for removed parts. Make sure the site has the latest machine drawings and cleaning instructions. Training should cover stop and isolation, disassembly, chemical handling, inspection, reassembly, line clearance and escalation of abnormal residue.
Maintenance staff should know which seals, hoses and nozzles are consumable, how to inspect wear and how to record replacement. Quality staff should understand the sample locations and release evidence. Production staff should know when they may resume operation and when a supervisor or quality representative must review the result.
FAQ
How often should a veterinary syringe filling machine be cleaned?
The frequency depends on the product, campaign length, hold time, changeover risk and approved quality procedure. A daily schedule alone is not a universal answer; the customer should define routine, campaign-end and exceptional cleaning events.
Can the whole machine be washed down?
Only if the machine is designed and documented for that method. Electrical, sensor and drive components may require protection. Confirm the approved cleaning zones and methods with the equipment supplier.
What should be included in a cleaning checklist?
Include isolation, product recovery, parts removed, chemical and rinse details, inspection points, reassembly, line clearance, verification results, operator identity and release approval.
Does cleaning verification prove product safety?
It provides evidence against the defined acceptance criteria. It does not replace the customer’s product-specific validation, regulatory review or approved quality system.
What should we send for a cleaning review?
Send the product residue description, syringe and plunger materials, cleaning chemicals, changeover frequency, drawings, sample requirements and any existing acceptance criteria.
Conclusion
Reliable cleaning of a veterinary syringe filling machine is designed around product residue, materials, access, changeover and verification. A documented product-contact map and controlled disassembly sequence make the process easier to repeat and easier to audit. Send your product and cleaning requirements for a technical review and equipment scope.
Related equipment and RFQ resources
Review the syringe filling machine range, veterinary medicine application, intramammary syringe solution, filling and capping line, packaging solutions, product catalogue, syringe format changeover guide, product waste reduction guide, viscous product nozzle guide, validation guide, contact page and request-a-quote page. Include the product, syringe format, cleaning method, changeover frequency and acceptance criteria when requesting a proposal.
The following visuals illustrate cleaning access and line-clearance checks. They are engineering references, not a substitute for a product-specific cleaning validation.