 Skip to content
Quick answer
A tube filling and sealing machine moves empty tubes through a controlled sequence: tube loading and orientation, coding or registration where required, filling, optional air removal or product cut-off control, heating or closure formation, cooling, trimming, date or batch marking and discharge. The exact stations vary by tube material, product characteristics, output target and automation level. Reliable results depend on matching the dosing system, tube format and sealing method, then verifying the finished package with agreed quality checks.
Introduction
A tube filling line is easy to describe in a few words—fill the product and seal the tube—but a dependable process depends on a series of linked controls. A small deviation in tube orientation, nozzle position, fill cut-off or seal temperature can influence appearance, package integrity or downstream packing. Understanding the production sequence helps buyers ask better questions when selecting equipment and helps operating teams diagnose issues without changing settings blindly.
This guide explains the normal workflow for plastic, laminated and aluminum tube production. Individual machines differ, and a technical proposal should always be based on the intended tube and product, but the process logic remains useful across many applications.
Step 1: Prepare the product and empty tubes
Production begins before tubes reach the filler. The product has to be available at a stable condition suitable for dosing. Depending on the formula, preparation may include mixing, deaeration, temperature control, holding or controlled transfer to the filling hopper. The objective is to present the filler with product that has a consistent texture and does not introduce excess air, separation or temperature variation.
Empty tubes are checked for the approved format, condition, print version and quantity. Operators should keep formats segregated and protect the open end from contamination. A tube machine is not a substitute for material control: inconsistent tube dimensions, damaged tube ends or mixed artwork can create faults that no filling setting can correct.
Step 2: Load and orient the tubes
Semi-automatic equipment may rely on the operator to place tubes in holders. Automatic equipment can use magazines and mechanical or sensor-based orientation systems. Orientation is important when the final seal needs to align with printed artwork, a registration mark, seam or cap position.
The machine holds the tube in a format component sized for its diameter and length. This is one reason format data should be frozen early. A tube with the same nominal diameter but a different shoulder, cap or length may still need a different guide or adjustment.
Step 3: Dose product through the filling nozzle
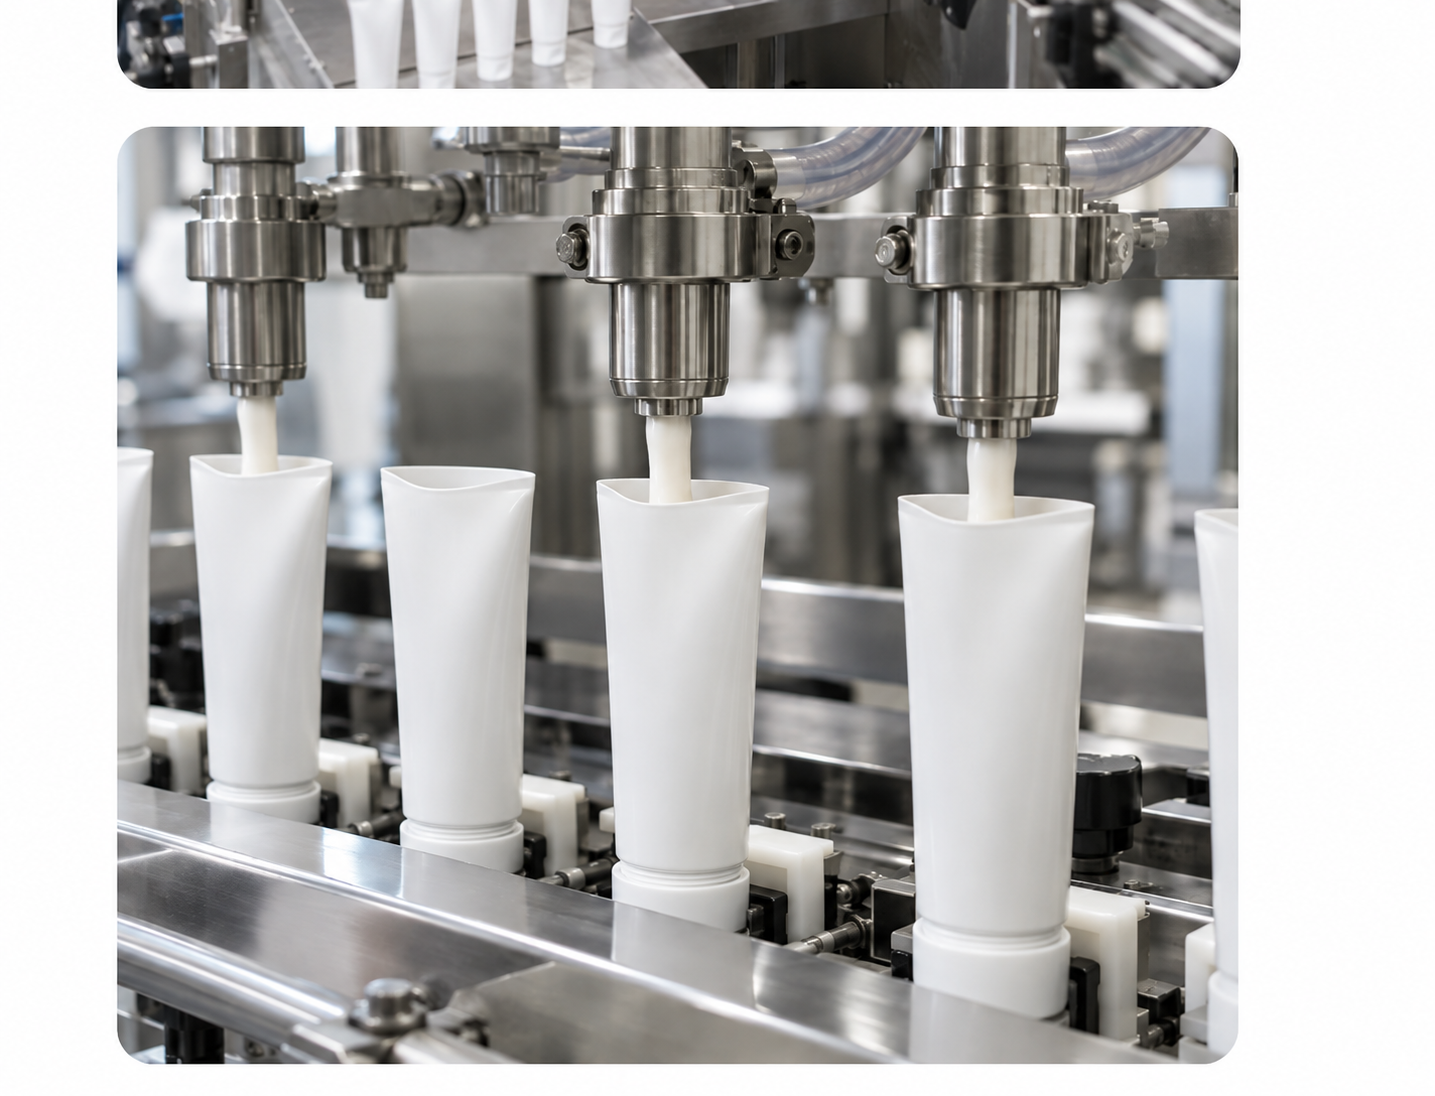
At the filling station, the nozzle delivers the target product quantity into the tube. The machine may use a dosing arrangement selected for the product and fill range. The objective is not only the intended quantity, but a clean, repeatable presentation that leaves the seal zone suitable for closure.
Key variables include product viscosity, temperature, nozzle design, filling depth, lift or diving motion, cut-off behavior and the presence of entrained air. A thin lotion may splash if the sequence is poorly controlled; a high-viscosity cream may string from the nozzle; an aerated product may leave voids. These are process-development questions to resolve with trials, not just “machine settings.”
| Process point | What the team should observe |
|---|---|
| Product feed | Stable availability, appropriate pressure or transfer condition, no avoidable starvation. |
| Filling nozzle | Correct position, clean cut-off and no product dragged toward the open tube end. |
| Fill presentation | Consistent fill level and minimal entrapped air or splash. |
| Tube exterior | No unacceptable contamination that will affect print or handling. |
Step 4: Keep the seal zone clean
After filling, the open end must be ready for closure. Some machines use defined steps to manage tube-end condition or remove residual product from the seal area. The details depend on the machine and application, but the underlying goal is the same: sealing surfaces must be in the condition expected by the chosen closure method.
A frequent troubleshooting mistake is to increase heat when a seal leaks. If the real cause is product contamination in the seal zone, more heat may damage the tube appearance without fixing the root cause. Good troubleshooting starts by observing the product behavior, nozzle cut-off, fill depth and tube presentation before adjusting sealing parameters.
Step 5: Form the closure
For troubleshooting, review the tube sealing process and seal-quality controls alongside the approved material specification.
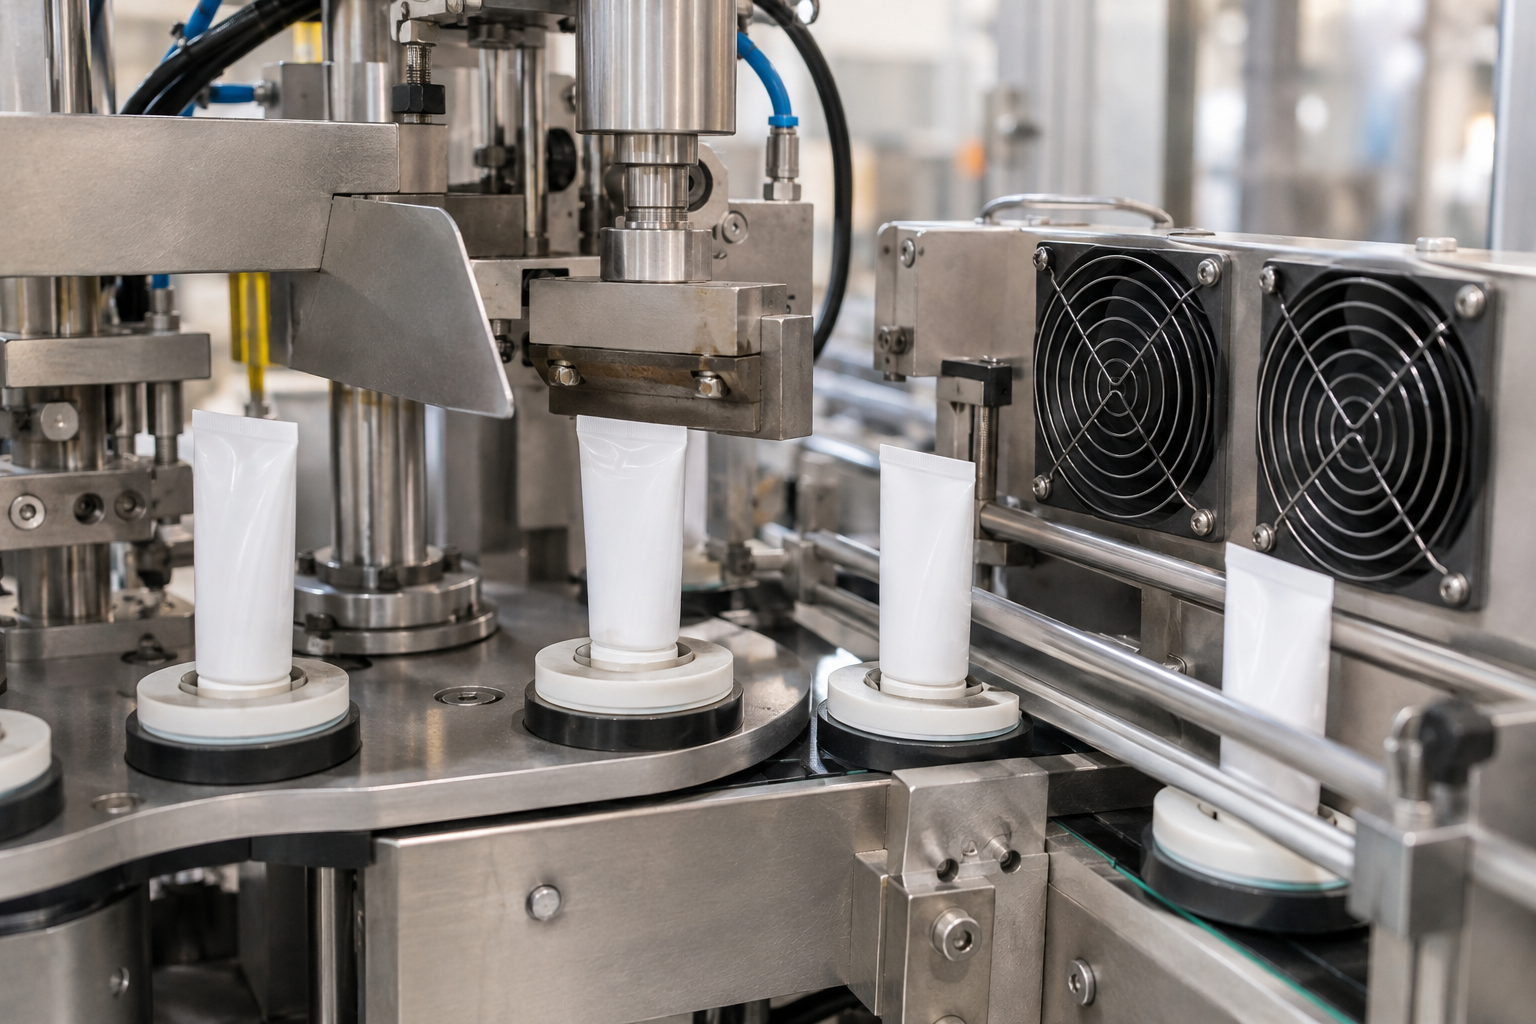
Plastic and laminated tubes commonly use hot-air sealing, where controlled heat activates the internal sealing layer and external jaws form the final closure. Ultrasonic sealing can be considered for appropriate tube constructions and designs. Aluminum tubes normally move through folding or crimping stages. The machine proposal should identify the closure method for each intended tube family.
The sealing result is influenced by material, heat or energy input, jaw pressure, dwell, cooling, tube condition and product contamination. The visual result matters because it affects brand presentation; the integrity result matters because it protects the filled product. At a planned factory acceptance test, the parties should agree what samples, settings and inspection method will demonstrate an acceptable closure.
Step 6: Trim, code and inspect
After the closure is formed, the tube may pass through trimming, embossing, date coding, batch marking or a visual inspection step. The exact sequence depends on the package design. Coding location, legibility and traceability requirements should be stated in the RFQ. If vision inspection or reject handling is required, define the defect types and the treatment of rejected tubes before equipment release.
Do not leave downstream handling to the end of a project. Finished tubes may need accumulation, cartoning or transfer to another packing station. The line must maintain gentle, stable movement so the fresh closure and printed surface are not damaged.
Step 7: Discharge, sample and record
If secondary packaging is connected, agree the tube filling and cartoning interface and the handling of rejected tubes before releasing the line layout.
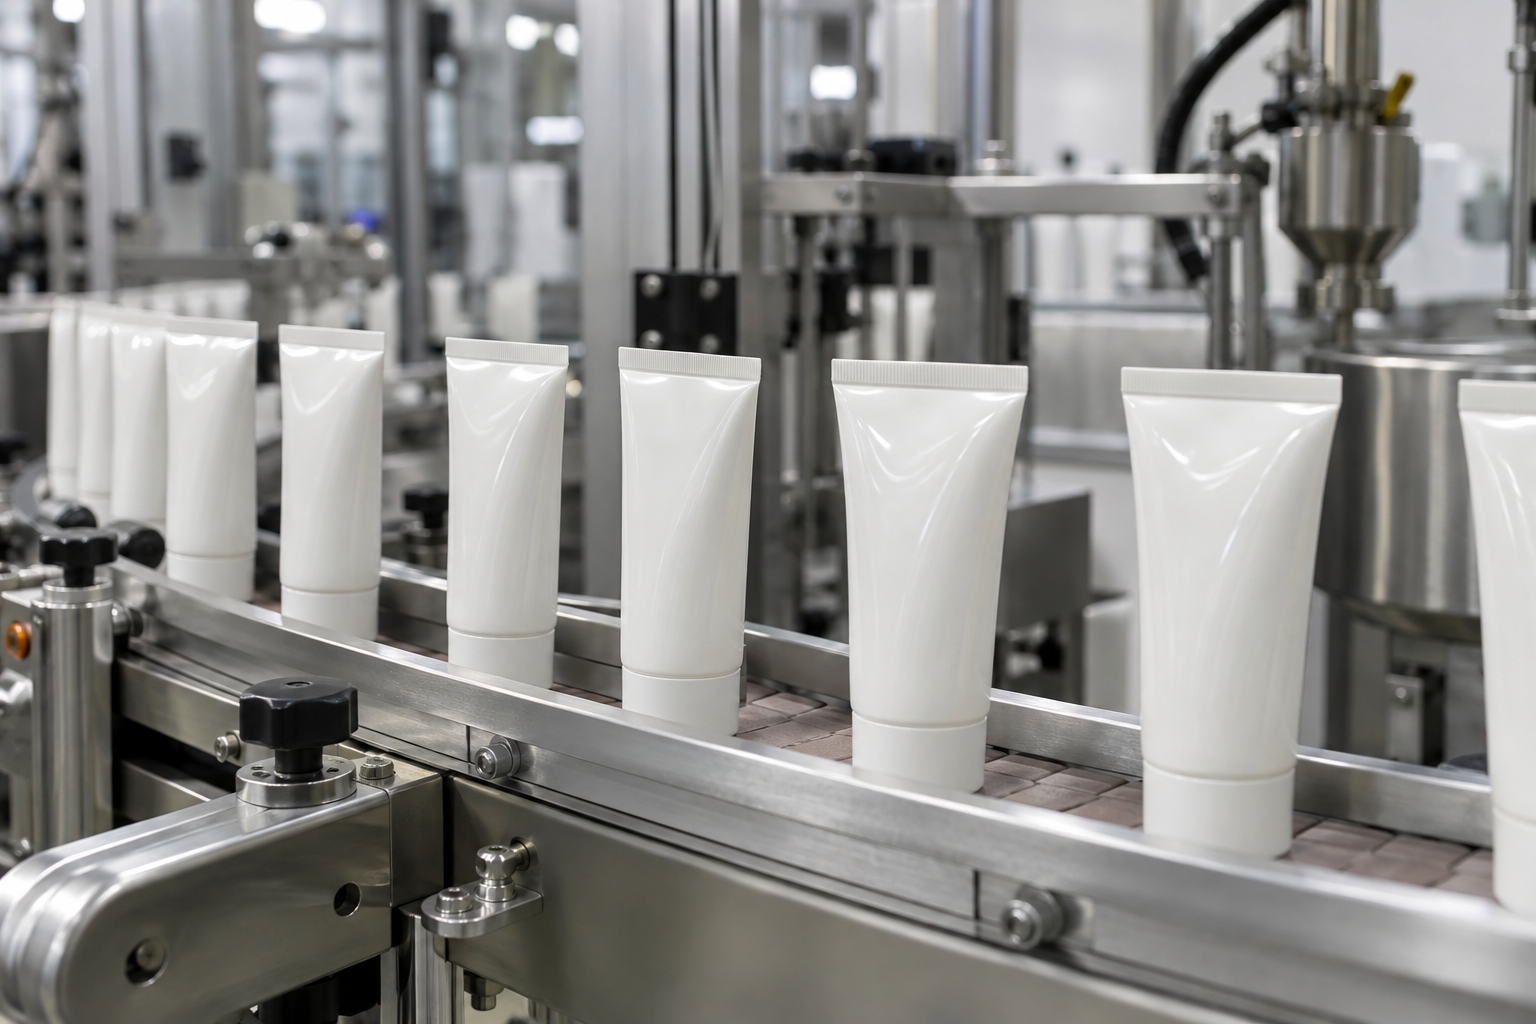
Finished tubes are discharged to collection, a conveyor or downstream packaging. Operators take samples according to the internal quality plan. Typical checks can include fill-weight or volume verification, seal appearance, coding, cap condition and package integrity tests appropriate to the application. The quality procedure belongs to the product owner, but the machine layout should give practical access for it.
Production records should link the run to the approved product, tube material, format parts, relevant settings and quality results. This helps with repeat orders, investigation and controlled changeovers.
What changes for plastic, laminate and aluminum tubes?
The early steps—material preparation, tube presentation and dosing—share similar logic, but the closure differs. Plastic and laminate tube projects need the correct heat-seal or ultrasonic evaluation for the exact tube. Aluminum tube projects require the folding or crimping configuration appropriate to the tube end and product. A universal “tube filler” description is not enough for a purchase decision; make tube material and closure method explicit.
How to plan a useful machine trial
A trial should answer the questions that matter at production scale. Provide representative tubes, product data and the intended fill volume. Agree the appearance criteria, output basis, product-handling conditions and test samples in advance. Observe the sequence, not just the final tube: loading, orientation, filling, clean cut-off, sealing, coding and discharge.
During shipment inspection, record the agreed results and any remaining actions. This creates a practical handover reference for installation preparation and operator training.
Need help mapping a tube process from bulk product to finished pack? Send the tube material, fill volume, product type and target output to King Pack for a preliminary line discussion.
Troubleshoot by following the sequence
When a finished tube is unacceptable, begin with the process order rather than the final defect alone. For a low fill, check product supply, dosing setting, air in the product path and the actual fill verification method. For a messy tube end, observe nozzle position, product cut-off, fill depth and tube presentation. For a poor-looking seal, first inspect tube format, product contamination, heat or energy input, pressure, dwell and cooling as a connected group.
This method avoids repeated adjustment without a clear hypothesis. Change one verified condition at a time, record the result and return to the agreed recipe when the trial is complete. Where the issue is caused by tube material variation or a formula change, involve the appropriate packaging or product team rather than trying to compensate indefinitely at the machine.
Routine preventive checks help keep the sequence stable. At the start of a run, confirm the approved tube format, product, nozzle condition, holders or guides, sealing tools, coding media and safety guards. During the run, inspect sample tubes at the planned frequency. At the end, clean and clear the line according to the product and internal procedure. These simple controls make subsequent investigations much easier because the team can distinguish a normal variation from a changed process condition.
For complex projects, retain representative first-off and test samples with their production record. They create a useful visual reference for operators and quality teams when the same SKU is produced again.
Turn the process review into a usable handover record
A useful handover connects each station to a material requirement, an approved setting and an observable result. Ask the supplier to show where that information is recorded and how the operator finds it. A list of parameter values without a tube code, product identification or acceptance sample is difficult to use when the format returns months later.
Prepare the handover with production, quality and maintenance personnel. Production should understand the normal loading, replenishment, sampling and stop procedures. Quality should identify which finished-pack checks are required, who performs them and what happens when a sample fails. Maintenance should know the inspection points, wear components and access needed for the configuration supplied. These responsibilities may overlap, but they should not remain unassigned.
For every approved format, retain a concise setup record containing the tube supplier and dimensions, product and fill target, nozzle arrangement, orientation reference, closure recipe, code position and first-off approval. Include photographs of an acceptable finished tube when the site procedure permits. The record should distinguish settings that operators may adjust within an approved range from changes requiring technical review.
During installation preparation, confirm that the site can support the workflow described in the manual. Tube loading space, product transfer, access to the machine, rejected-pack collection and downstream accumulation all affect practical operation. A prepared production area also provides a place for samples, cleaning tools and controlled documentation without obstructing safe access.
At the end of commissioning, record open items with an owner and a closure method. A missing format part, unresolved print-registration concern or incomplete work instruction should be visible rather than buried in general notes. This does not replace a site’s qualification or quality-release procedure; it creates a clearer equipment handover. The team can then reproduce the approved sequence and investigate deviations using the same material and process references that supported acceptance.
FAQ
What is a tube filling and sealing machine?
It is equipment that doses product into plastic, laminated or aluminum tubes and then forms the appropriate closure. Depending on configuration, it may also orient tubes, code packs, inspect them and transfer them to downstream packaging.
How are laminated tubes sealed?
Many laminated tubes are sealed with controlled hot air and external forming jaws. Ultrasonic sealing can be evaluated for suitable laminate structures. The correct method is confirmed through trials with actual tubes and product.
Why are tubes leaking after sealing?
Possible causes include an unsuitable seal setting, product in the seal area, tube variation, poor tube presentation, incorrect cooling or a mismatch between tube construction and sealing method. Review the full sequence before changing parameters.
What information is needed to select a tube filler?
Provide product behavior, fill volume, tube material and size, cap and artwork details, output target, formats, cleaning expectations, quality checks, utilities and downstream packaging requirements.
Can one machine handle different tube sizes?
Many configurations can be designed for a defined range, but each diameter, length, cap or artwork position may require format parts or adjustments. List every current and planned tube format in the RFQ so the proposed changeover scope is visible.
Why is the product preparation step important?
The filler can only dose the product condition it receives. Temperature, viscosity, air content, mixing and transfer stability affect fill presentation and may affect the seal zone. Review product preparation and the tube filler as one connected process.
Link equipment settings to approved materials
A machine recipe has meaning only when it is connected to the approved product and tube. Record the tube supplier and format, product identification, fill volume, nozzle arrangement, closure configuration and coding requirement with the production record. If a material changes, review whether the existing settings remain valid before routine production resumes.
This approach also improves training. New operators learn that the sequence is controlled by material and process evidence, not by a collection of unexplained numbers on an HMI. When an issue occurs, they have a better basis for reporting what changed and for protecting the batch while the cause is investigated.
Conclusion
Tube filling and sealing is a linked process, not a single station. The tube, product, nozzle, closure and quality check all influence the final result. Buyers who document each stage early can select equipment with a clearer scope and give their production teams a stronger basis for testing, installation and routine operation.
Contact King Pack Machinery for a tube filling process review. We can help convert your tube and product information into an equipment scope that covers filling, sealing and the practical interfaces around the machine.
