
Tube Filling Accuracy and Product Loss: A Practical Troubleshooting Guide
Tube filling accuracy and product loss are linked process questions. A fill that varies can create rework and quality holds, while product left in a hopper, hose or nozzle can increase cleaning time and material waste. The right troubleshooting method begins with the product, tube and measurement method, then follows the filling cycle from startup through steady production and changeover.
This guide is for teams buying, commissioning or improving a tube filling machine for creams, gels, ointments, pastes and other liquid or semi-solid products. It does not promise one universal accuracy number. Actual results depend on formulation, fill volume, temperature, equipment configuration, tube format and the agreed test method.
Define what accuracy means for your project
Before investigating a deviation, define the measured quantity. Some teams check net weight, some check volume, and some use a combination of weight, appearance and process records. State the target fill, tolerance, sample size, balance resolution, product temperature and whether the result is taken at startup, after stabilization or across a complete run.
Use a consistent sample plan. If one operator weighs the first tube and another weighs a mixed sample after changeover, the numbers may not be comparable. Record tube identity, product batch, machine recipe, nozzle or piston setting, time and any manual intervention. This history helps separate a machine issue from a measurement issue.
| Observation | Possible area to check | Useful evidence |
|---|---|---|
| All tubes are high or low | Setpoint, calibration, density assumption or recipe | Setpoint history and measured sample results |
| Variation increases during a run | Product temperature, supply pressure, air, wear or feed consistency | Time trend and product condition notes |
| First tubes differ after a stop | Startup purge, nozzle fill, settling or restart sequence | Restart procedure and first-piece samples |
| Only one SKU is unstable | Rheology, tooling, recipe or tube format | SKU comparison and change-part check |
| Residue appears outside the tube | Nozzle cutoff, stringing, timing or tube position | Photos, nozzle inspection and sensor status |
Product behavior is often the first variable
Viscosity is not a single number for every filling condition. A cream may shear thin during pumping and recover while waiting in a hopper. A gel may string at the nozzle. A paste may contain air pockets or particles. Temperature can change flow behavior, especially when the product is filled from a controlled room into a machine with different contact surfaces.
Document how the product behaves at the machine, not only how it behaves in a laboratory sample. Check whether bulk supply is consistent, whether the hopper is being replenished at a stable level and whether the product is being agitated or warmed. If formulation, temperature or batch condition changes, investigate that change before adjusting the machine repeatedly.
Check dosing components and cutoff
Dosing selection should match product behavior and the required fill range. Piston, servo-driven piston, pump and other systems can be suitable under different conditions. Troubleshooting should review piston seals, valves, hoses, nozzle size, cutoff timing and any product-contact component that could hold air or restrict flow.
For a stringy product, the final movement at the nozzle can affect tailing and apparent product loss. A nozzle that is too close to the tube, too far from the tube or poorly timed with the indexing motion can create residue. For a product with particles, check whether the flow path and nozzle opening are appropriate for the particle size and formulation.
Use the high-viscosity tube filling guidance to frame product discussions. Ask the supplier to review the actual product, fill range and samples before selecting a nozzle or dosing arrangement.
Investigate startup, stops and changeovers
Many apparent accuracy problems occur during transitions. At startup, product may not yet occupy the complete flow path. After a long stop, the material may settle, cool, skin over or separate. During a changeover, a guide or nozzle may be installed incorrectly, or a recipe may retain the previous SKU’s setting.
Create a defined first-piece and restart sequence. Identify when the product-contact path is considered ready, how many samples are inspected, who releases the machine and what happens to nonconforming pieces. Record the time between a stop and restart, because the same setting may behave differently after a short interruption and an extended shutdown.
For multiple tube formats, check the change-part matrix. The correct guides and holders should place the tube consistently under the nozzle and sealing station. A tube that is not centered can make a stable dose appear unstable because product contacts the shoulder or tail instead of entering the intended position.
Reduce product loss through process design
Product loss comes from several sources: setup purge, overfill, residue in product-contact parts, drips during stops, rejects caused by seal or code defects, and material discarded during cleaning. Measure the sources separately. A single “waste” number cannot tell you whether the priority is nozzle cutoff, changeover planning or bulk transfer.
Use a product-contact parts list to identify where material remains at shutdown. Discuss drainability, hose length, dead legs, hopper geometry and the sequence for recovering or disposing of product. The appropriate method depends on the formulation and site hygiene requirements, so it should be agreed with production and quality teams.
Schedule similar products together when practical, but do not compromise cleaning or quality controls. A changeover plan can reduce the number of deep cleans and setup purges while preserving the required product segregation. Review the tube filling cleaning and changeover guide for a structured checklist.
Use in-process controls that operators can act on
Good controls are clear enough to trigger an action. Define which samples are checked, how often they are checked, what range requires an adjustment and when the line must stop. A control chart can be useful if the sampling method is consistent and the team knows how to respond to a trend.
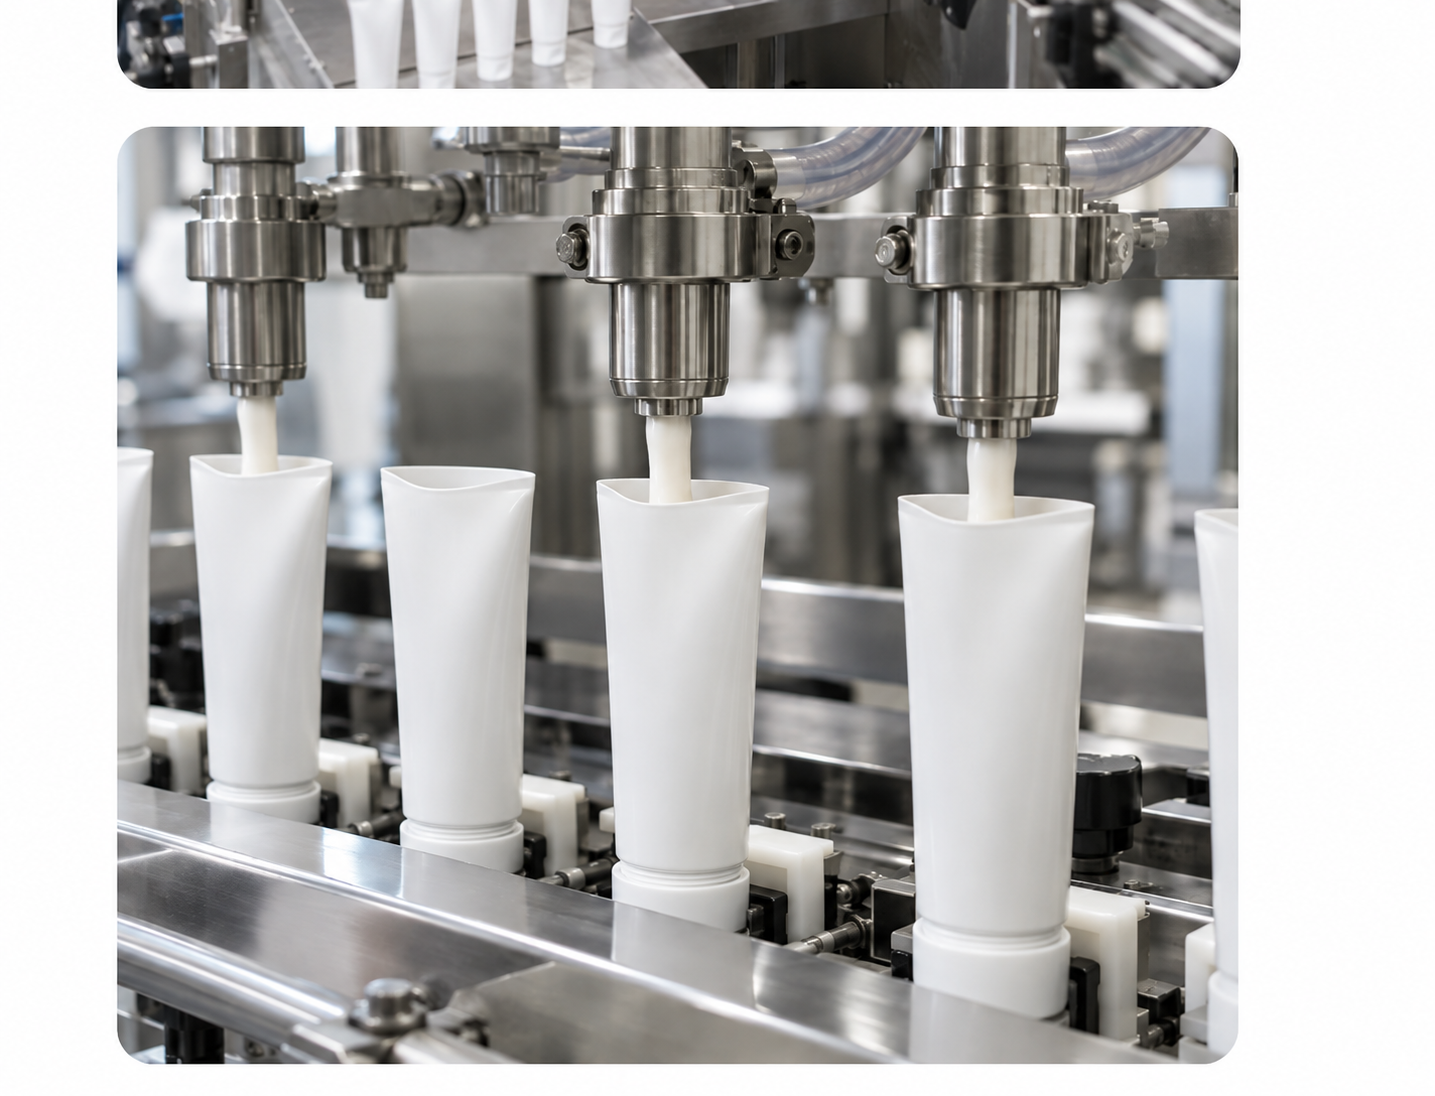
Pair fill checks with visual checks. Look for drips, strings, air pockets, product on the shoulder, tube deformation and tail-seal defects. These observations can point to a nozzle, timing, tube position or product condition issue even when a small weight sample appears acceptable.
For an equipment project, include the measurement method in FAT and commissioning documents. Ask how the machine recipe is protected, how settings are recorded and what operators receive in the training package. Accuracy improves when the procedure is repeatable, not when an adjustment is remembered by one person.
Questions for a supplier or service engineer
- What product and tube samples were used to select the dosing and nozzle arrangement?
- Which variables should be logged when a fill trend changes?
- How is the first-piece or restart sequence defined?
- Which parts are removed for cleaning and where can product remain?
- How are tube position, nozzle timing and cutoff verified?
- Which accuracy and loss measurements will be included in the agreed FAT?
Build a troubleshooting record that supports decisions
When a filling deviation occurs, record the product batch, tube format, recipe, machine state, operator adjustment, sample time and measurement method before changing settings. A short record can show whether the issue appeared at startup, after a stop, during a product refill, after a changeover or only on one nozzle. It also prevents several adjustments from being made before the original cause is understood.
Review one variable at a time where practical. Check the measurement equipment and sample handling first, then product condition and supply, then dosing components, tube position and cutoff. If the line has multiple filling heads, compare their results under the same conditions. A head-to-head comparison can reveal a local issue that is hidden by a mixed average.
Use a hold-and-release rule for questionable product. The quality team should define when samples are quarantined, when the machine is stopped and what evidence is needed before production resumes. This is especially important when an underfill, air pocket, tail contamination or seal defect can affect the finished package.
Investigating fill variation? Send the product notes, tube format and sample record to King Pack for a technical discussion.
Connect accuracy work to commissioning
Accuracy checks should be carried from FAT into installation and commissioning. Use the same sample description, measurement method and visual criteria where possible, while adding site-specific checks for utilities, upstream product transfer and operator procedure. If the site changes the product temperature, bulk vessel, hose route or sampling method, record the change before comparing results.
Product loss should be measured in the same disciplined way. Separate purge material, overfill, nozzle residue, stop drips, rejected tubes and cleaning waste. Then choose an improvement action for the largest practical source. A changeover plan may reduce purge waste, while a nozzle or timing review may reduce drips; neither should be assumed without evidence.
Keep the resulting settings and checks in the recipe or operating instruction approved by the site. The machine should be repeatable for the trained team, rather than dependent on a single operator remembering an adjustment.
Use a controlled improvement cycle
Once the likely cause is identified, make one controlled change and repeat the agreed sample check. Record the old setting, new setting, product condition, tube format and result. This creates a simple evidence trail and prevents a temporary improvement from becoming an undocumented recipe change.
For recurring loss, compare the complete material path from bulk vessel to finished tube. Product may remain in a transfer hose, hopper, valve, nozzle or rejected tube. The best intervention can be a process change, a product preparation change or a cleaning recovery step rather than a machine adjustment.
Review accuracy and loss trends at a regular production meeting. A trend that appears only after a certain product, tube size or stop duration should be assigned to the relevant process owner. Keep the equipment supplier involved when the evidence points to a component, control sequence or format-part issue.
When the project is still being specified, include the measurement method and loss categories in the RFQ and FAT plan. This gives the supplier a fair basis for reviewing the dosing arrangement and gives the buyer a repeatable acceptance record.
Document the final operating window
Once the process is stable, record the approved product condition, fill setting, tube format, sampling method, visual checks and restart rules. Treat this as an operating window that can be reviewed when product, tube or utility conditions change.
Include escalation instructions for trends and defects. Operators should know when to pause the line, retain samples, notify quality or call maintenance. This turns troubleshooting knowledge into a repeatable site process.
Review the window after a new format part, nozzle, hose, product batch or sealing change. The review does not assume that every change creates a problem; it ensures that the evidence is still relevant to the current configuration.
FAQ
Why are the first tubes after startup different?
The product path may not yet be fully conditioned, or the product may have settled or changed temperature. Define a first-piece procedure and investigate the startup state before changing the steady-state setting.
Can higher filling speed improve accuracy?
Speed alone does not guarantee accuracy. A stable product feed, suitable dosing arrangement, correct cutoff and consistent tube position matter more than a headline cycle rate.
How can we separate product loss from rejects?
Track setup purge, product-contact residue, stop drips, overfill and rejected tubes as separate categories. Each category points to a different improvement action.
What should be measured during a FAT?
Agree the product and tube samples, fill target, measurement method, sample size, startup condition, steady-state condition, visual checks and record format before the FAT.
Conclusion
Tube filling accuracy and product loss improve when the team follows the complete process rather than adjusting one setting in isolation. Define the measurement method, understand product behavior, verify dosing and cutoff, control transitions, review change parts and measure waste sources separately. Then capture the agreed checks in FAT, commissioning and operator training documents.
Need help reviewing a filling problem? Contact King Pack with your product notes, tube drawings, fill target and sample results. A clear technical brief makes the next discussion more useful.