
Quick answer: Injection filling machine problems should be investigated through a controlled sequence: describe the symptom, separate product, container and machine factors, check the simplest causes first, change one parameter at a time and confirm the result with a repeatable test. Air bubbles, residue and inaccurate filling can have different root causes.
Injection Filling Machine Troubleshooting: Air Bubbles, Residue, Accuracy and Material Compatibility
“The machine is inaccurate” is not enough information to identify a filling problem. The engineering team needs to know whether the variation occurs between containers, between filling heads, after a changeover, at a specific speed, when the tank level changes or only with the final product.
A practical troubleshooting process records product temperature, viscosity, fill volume, speed, container type, nozzle position, pump condition, recent maintenance and the exact time when the symptom appeared. For sterile or validated products, follow the customer’s quality and change-control procedures before making a process adjustment.
Air bubbles in the filled container
Common symptoms
Typical symptoms include visible bubbles, foam at the surface, inconsistent fill weight, bubbles that appear only at high speed or air trapped near the stopper or container wall.
Possible causes
- Air entering through a low tank level, loose connection or worn seal
- Incomplete pump priming
- Excessive filling speed or turbulence
- Nozzle positioned too high or too close to the wall
- Product foaming due to surfactants, agitation or temperature
Troubleshooting steps
Check the tank level and every tubing connection. Prime the pump slowly and observe whether air appears before the nozzle. Temporarily reduce speed, adjust nozzle height and compare top-down with bottom-up filling where appropriate. Record product temperature and the agitation history. Do not reduce speed permanently until the root cause and acceptable operating range are understood.
Residue, dripping and product build-up
Classify the residue first
Residue may be liquid, sticky, crystallized, dried product or particulate. The appearance matters because valve timing, surface tension, evaporation, chemical compatibility and cleaning may require different actions.

Check the nozzle and valve sequence
Observe the nozzle immediately after the filling stroke. Check valve timing, nozzle condition, suck-back settings, product temperature and the relationship between speed and residue. A deformed tip or damaged seal may create a problem that looks like a software setting issue.
If residue increases during a long run, check whether the product is drying at the nozzle, whether the product pathway is warming, or whether the cleaning interval is too long. Record the condition before and after cleaning rather than relying on a visual impression from memory.
Inaccurate or unstable filling
Check the measurement system
Before adjusting the machine, verify the balance, container tare, weighing procedure, scale resolution and operator technique. A measurement error can appear as dosing instability.
Check product and pump conditions
Temperature changes can alter viscosity. Air in the pump can compress and expand. A large change in tank level may influence some dosing systems. Worn tubing, seals, valves or nozzles can reduce repeatability.
Use a controlled test
Test one filling head separately, compare the first, middle and last containers, use a fixed speed and record product temperature. Then repeat at a lower speed or after priming. Change one important parameter at a time so the result can be traced.
Material compatibility problems
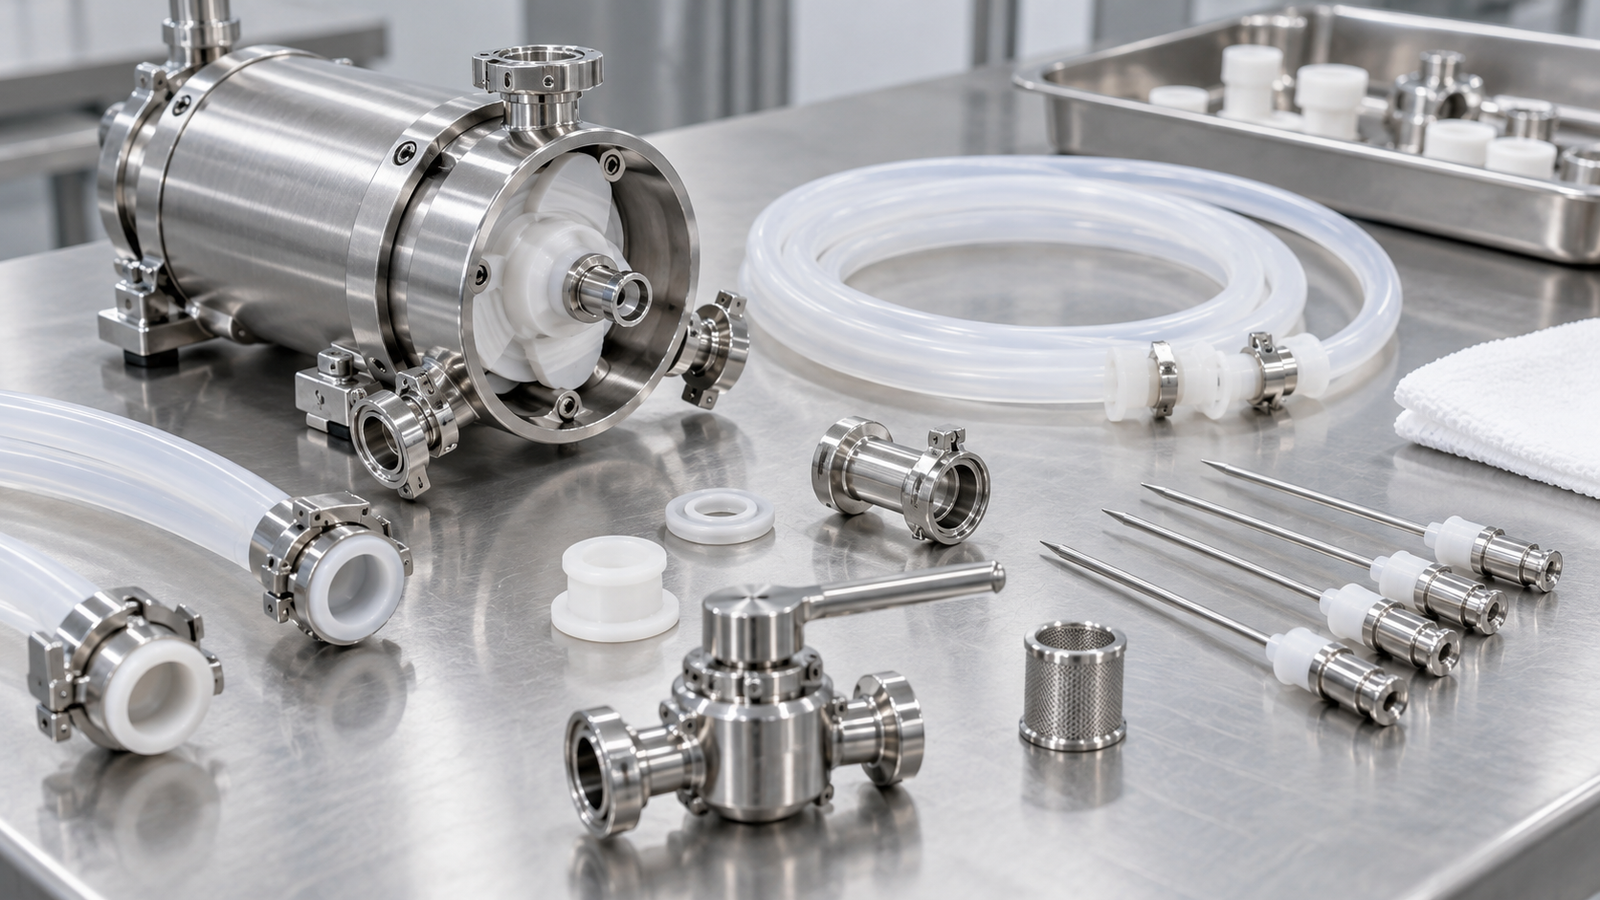
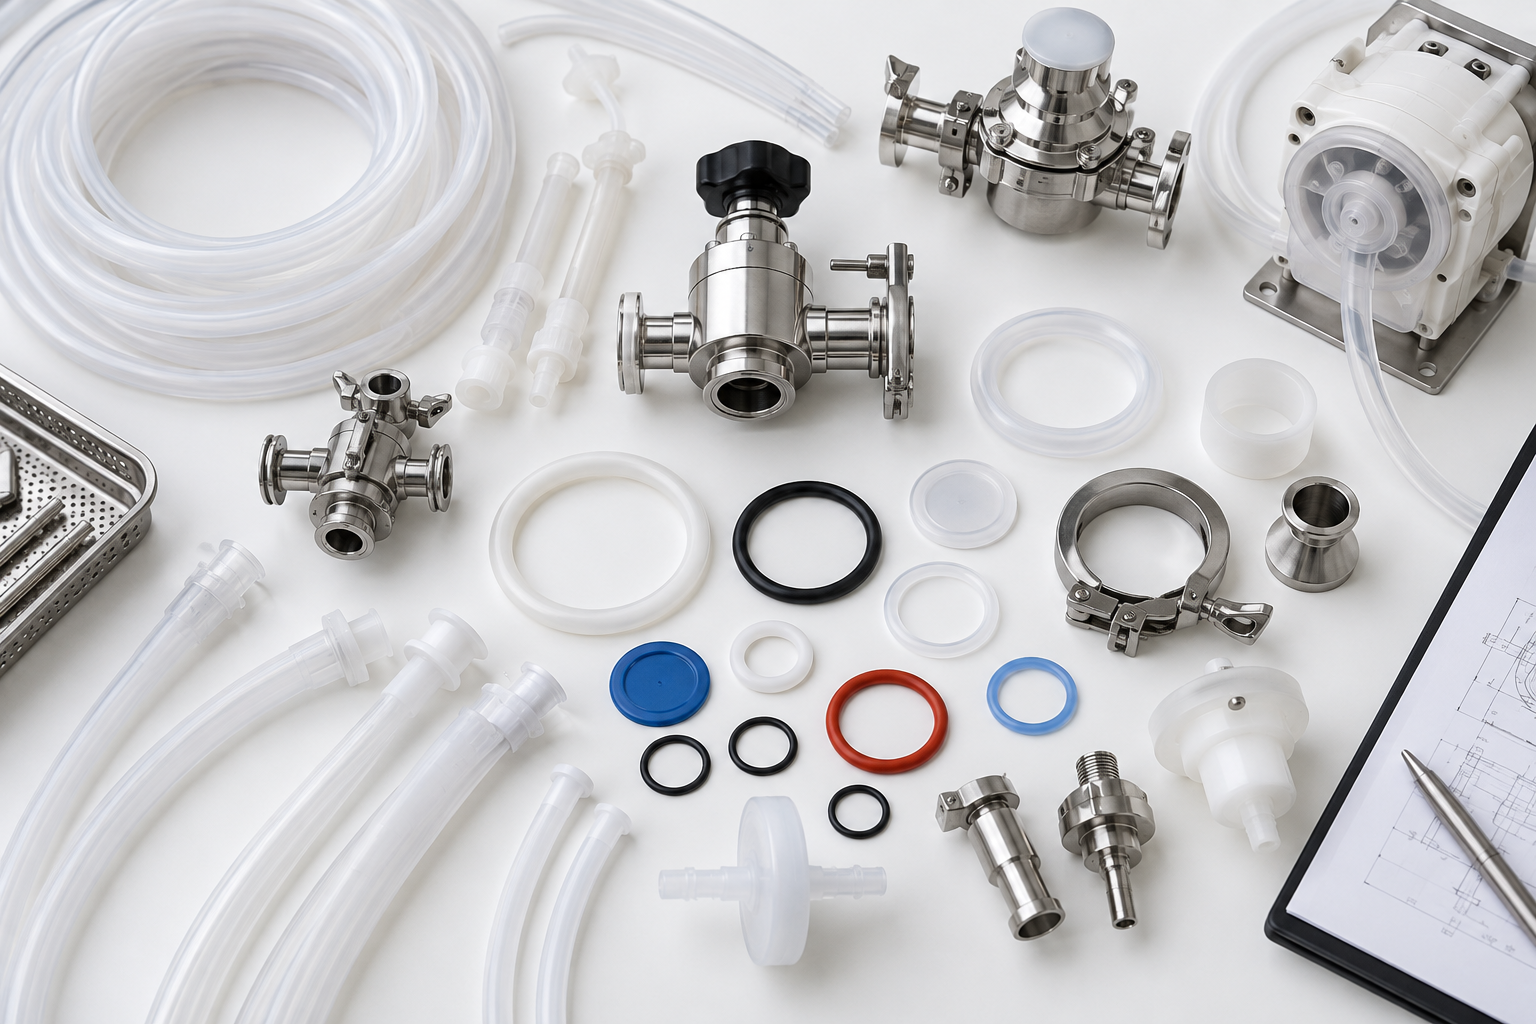
Compatibility issues may appear as swollen tubing, hardened seals, discoloration, leakage, odor, particles or a change in pump performance after cleaning or sterilization. The review should cover product chemistry, temperature, cleaning agent, sterilization cycles, contact time and storage conditions.

List every product-contact material: tank, pump, tubing, valve, nozzle, gasket and seal. Compare new and used parts under consistent lighting. Do not judge compatibility only by appearance; quality and process teams may need a more formal evaluation for extractables, particles, leakage or performance.
Container and stopper causes
Containers can create symptoms that look like machine faults. Check vial diameter, height, neck finish, stopper dimensions, container cleanliness, wobble, guide alignment and supplier-to-supplier variation. A small change in neck geometry can influence nozzle centering, filling position and stopper placement.
Problems after changeover
After a format change, confirm the recipe, filling needles, pump volume, sensor position, container guide, stopper track and cap parts. Run a dry test, then a water or representative-liquid test before approving the first production units. Common causes include wrong change parts, nozzle height not reset, an incorrect recipe and incomplete product-path priming.
When to contact the equipment engineer
Contact the supplier when the problem continues after basic checks, the machine differs from the FAT result, a product-contact part has changed, a new container format is introduced, accuracy fails at an approved operating condition, or there is leakage, abnormal noise or repeated alarm activation.
Include the machine model, product type, fill volume, container format, operating speed, product temperature, exact symptom, photos or video, recent changes, alarm messages and maintenance history. These details can shorten the troubleshooting cycle.
For service coordination, visit the after-sales service page. For new applications, review the filling solutions and blog resources.
FAQ
Why does an injection filling machine create bubbles?
Common causes include trapped air, incomplete priming, excessive speed, poor nozzle position and product foaming. Check the product path and test one change at a time.
Why does liquid drip from the nozzle?
Dripping may relate to valve timing, product viscosity, surface tension, nozzle condition or suck-back. Observe the nozzle after the stroke and record product temperature.
Why is accuracy good with water but poor with the actual product?
Water may have different viscosity, foaming behavior and surface tension. Test with the final product or a documented representative substitute.
How can residue be reduced?
Review nozzle design, speed, valve timing, product temperature, cleaning procedure and contact materials. First classify the residue.
How often should tubing and seals be replaced?
The interval depends on chemistry, operating hours, cleaning and sterilization cycles. Use inspection and process evidence rather than an arbitrary interval.
Conclusion and CTA
Good troubleshooting separates product, container, measurement and machine factors before changing settings. A controlled test plan and maintenance record make the result easier to repeat and explain.
Contact Our Engineer: Send your product type, container size, fill volume, operating settings, photos and test results through the contact page. We can help define the next technical check within the agreed project scope.
How to organize a repeatable troubleshooting record
A troubleshooting record should identify the date, machine identifier, product or placebo used, container lot, fill volume, target speed, actual speed, product temperature, operator, installed change parts and test method. Record both the initial condition and the condition after each adjustment. This prevents a team from repeating an adjustment that only appeared to work because the product temperature or tank level had changed.
For fill-weight problems, state whether the result is an average shift, a wide distribution, a single outlier or a difference between filling heads. For air bubbles, record the location, size, frequency and whether the bubble is present immediately after filling or appears later. For residue, record where it appears and whether it is removed by the approved cleaning procedure. These descriptions make an engineer’s response more specific.
Distinguish machine issues from process issues
A filling machine can be mechanically healthy while the process remains unstable because the product was prepared differently, the container lot changed or the measurement method was inconsistent. Compare a repeat test using the same product preparation, the same container lot and the same calibrated balance. If the symptom disappears, investigate the process variables before modifying the machine.
During an installation or commissioning period, it is useful to test the machine with water, a representative liquid and the actual product when permitted. Water can confirm basic movement and control functions, but it cannot prove final viscosity behavior, foaming, residue or compatibility. A substitute liquid should therefore be documented with its limitations.
Maintenance checks that prevent recurring faults
Preventive maintenance should cover tubing, pump heads, seals, valves, nozzles, sensors, guides and the condition of change parts. Keep a record of operating hours, cleaning cycles, sterilization cycles and replacement dates. If the same residue or accuracy issue returns after a certain number of cycles, that pattern may indicate a component-life or cleaning-related cause.
Operators should also confirm that nozzles are stored safely, tubing is not kinked, connectors are fully seated and product-contact parts are assembled according to the approved drawing. A short pre-start checklist can prevent a loose connection or wrong change part from becoming a longer troubleshooting event.
What a supplier needs before recommending a modification
When an application changes from a low-viscosity liquid to a suspension, oil, foam-prone solution or temperature-sensitive formulation, the original configuration may no longer be adequate. Send the product behavior, target fill range, container drawing, output target, cleaning agents and actual symptom. The supplier can then determine whether the next step is a setting review, a sample trial, a different contact material, a nozzle change, a pump change or a more significant machine modification.
Any modification affecting a qualified or validated process should follow the customer’s change-control procedure. The technical recommendation should identify the reason for the change, the parts affected, the required test, the document updates and the acceptance criteria.
Practical handover checklist
- Confirm the approved recipe and change parts.
- Verify product-path priming before filling.
- Check balance status and tare method.
- Record product temperature and tank level.
- Inspect the nozzle and seal condition.
- Run a defined sample quantity.
- Record fill results and visible defects.
- Attach photographs to the test record.
- List open actions and responsible owners.
This type of record is useful for production, quality, maintenance and the equipment supplier because it creates one shared version of the problem. It also supports future training and makes it easier to compare a new batch or container lot against a known result.
Use a symptom-to-cause decision path
Start with the location and timing of the symptom. If bubbles are visible before the nozzle, inspect priming, connections and the tank outlet. If bubbles appear only as liquid enters the container, inspect flow speed, nozzle position and foaming behavior. If residue appears on the nozzle but not in the product path, inspect cutoff timing, surface tension and nozzle condition. If residue appears inside a valve or connector, inspect cleaning access and the component material.
The same logic applies to accuracy. A difference between all filling heads suggests a common product, tank or calibration factor; one head behaving differently suggests a local pump, valve, tubing or nozzle issue. A change that appears only after several hours suggests temperature, wear, product drying or a maintenance interval. This simple classification can prevent unnecessary changes to the whole machine.
Test with controlled samples
Use a defined number of containers and a fixed test condition. Record tare weight, gross weight, calculated fill, product temperature and the time of each sample. If the test uses a balance, confirm its resolution and status. If the test uses a volume mark, confirm that the container geometry makes the reading meaningful.
For air or residue problems, photograph representative units under consistent lighting. Label the photos with the test condition rather than relying on memory. For material compatibility, keep a new part and a used part for comparison and record the cleaning or sterilization exposure of the used part.
Do not hide failed tests
A failed sample test is useful evidence when the conditions are recorded. It may show that a product needs a slower start, that a nozzle should enter the container, that the filling path needs better priming or that the selected tubing is unsuitable. Record the failed result, the hypothesis, the adjustment and the re-test result. This creates a technical history that can support future batches and operator training.
If a change improves the result but creates another issue, such as lower output or more product hold-up, record that trade-off. The best setting is usually a controlled operating window rather than a single number that works only under one condition.
Escalate safety and quality risks
Stop and escalate when there is leakage near electrical components, repeated abnormal noise, damaged guarding, unexpected particle generation, a change in product appearance, a repeated alarm or any concern that may affect sterility or container closure. Operators should not bypass an interlock or continue production to collect more samples when the condition is unsafe or outside the approved process.
For a new product or container, complete a technical review before using the old recipe. Confirm the product-contact material, nozzle, pump range, container support, stopper or cap handling and cleaning method. A small format change can change the relationship between nozzle, container and closure parts.
For follow-up support, send the engineering team a concise problem record through the contact page. A service review is more effective when the machine identifier, test data, photos and recent changes are included.
Record the final operating window
After the cause is understood, record the approved operating window rather than only the final setting. Include the acceptable product temperature, speed range, fill-volume setting, tank-level range, nozzle position, priming method and cleaning status. If the window applies only to one product or container, identify that limitation. A clear operating window helps operators recognize when a future symptom is caused by a change in the process rather than normal variation. It also gives maintenance and quality teams a better basis for reviewing a new product, container lot or replacement component.
For a structured technical review, contact the equipment engineer with the completed test record.
Use the record for operator training
A troubleshooting record should become a practical training reference. Show the normal nozzle condition, acceptable fill-weight range, approved start-up sequence, cleaning checkpoints and escalation triggers. This reduces repeated trial-and-error adjustments and helps new operators recognize when an engineer should be contacted.